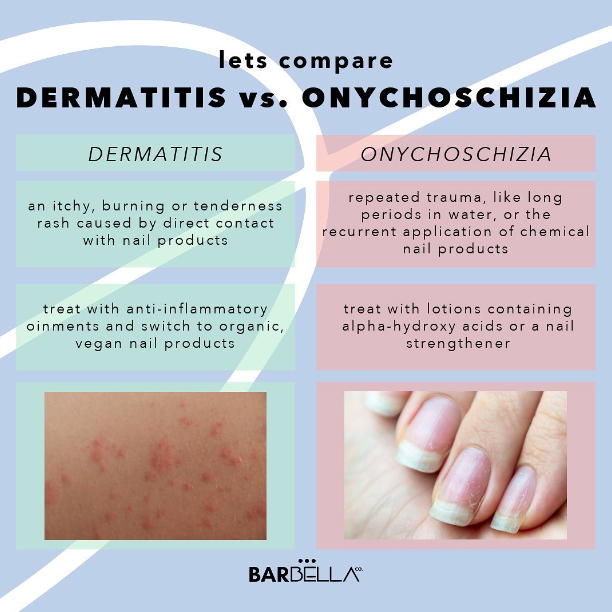
Trazos Básicos de Nail Art y Diseños para Principiantes: Una Guía Paso a Paso
·
·
El arte de uñas se ha convertido en una forma popular de autoexpresión, que permite a las personas mostrar su creatividad a través de diseños intrincados y llamativos. Para los principiantes, dominar los trazos básicos del arte de uñas es el primer paso para crear diseños de uñas hermosos y de aspecto profesional. Cubriremos los trazos esenciales del arte de uñas y diseños fáciles para principiantes que puedes lograr fácilmente en casa.
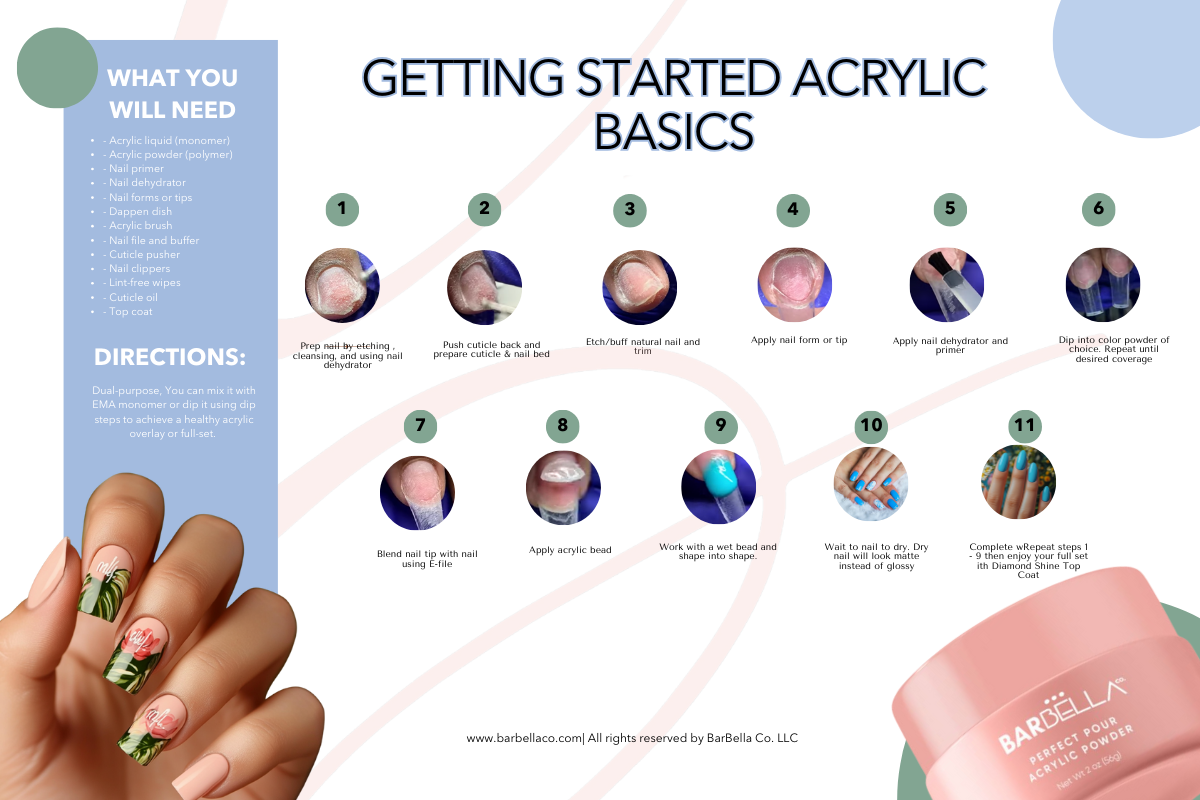
Herramientas esenciales para el arte de uñas
Antes de sumergirte en las técnicas, asegúrate de tener las siguientes herramientas:
- Capa base y capa superior
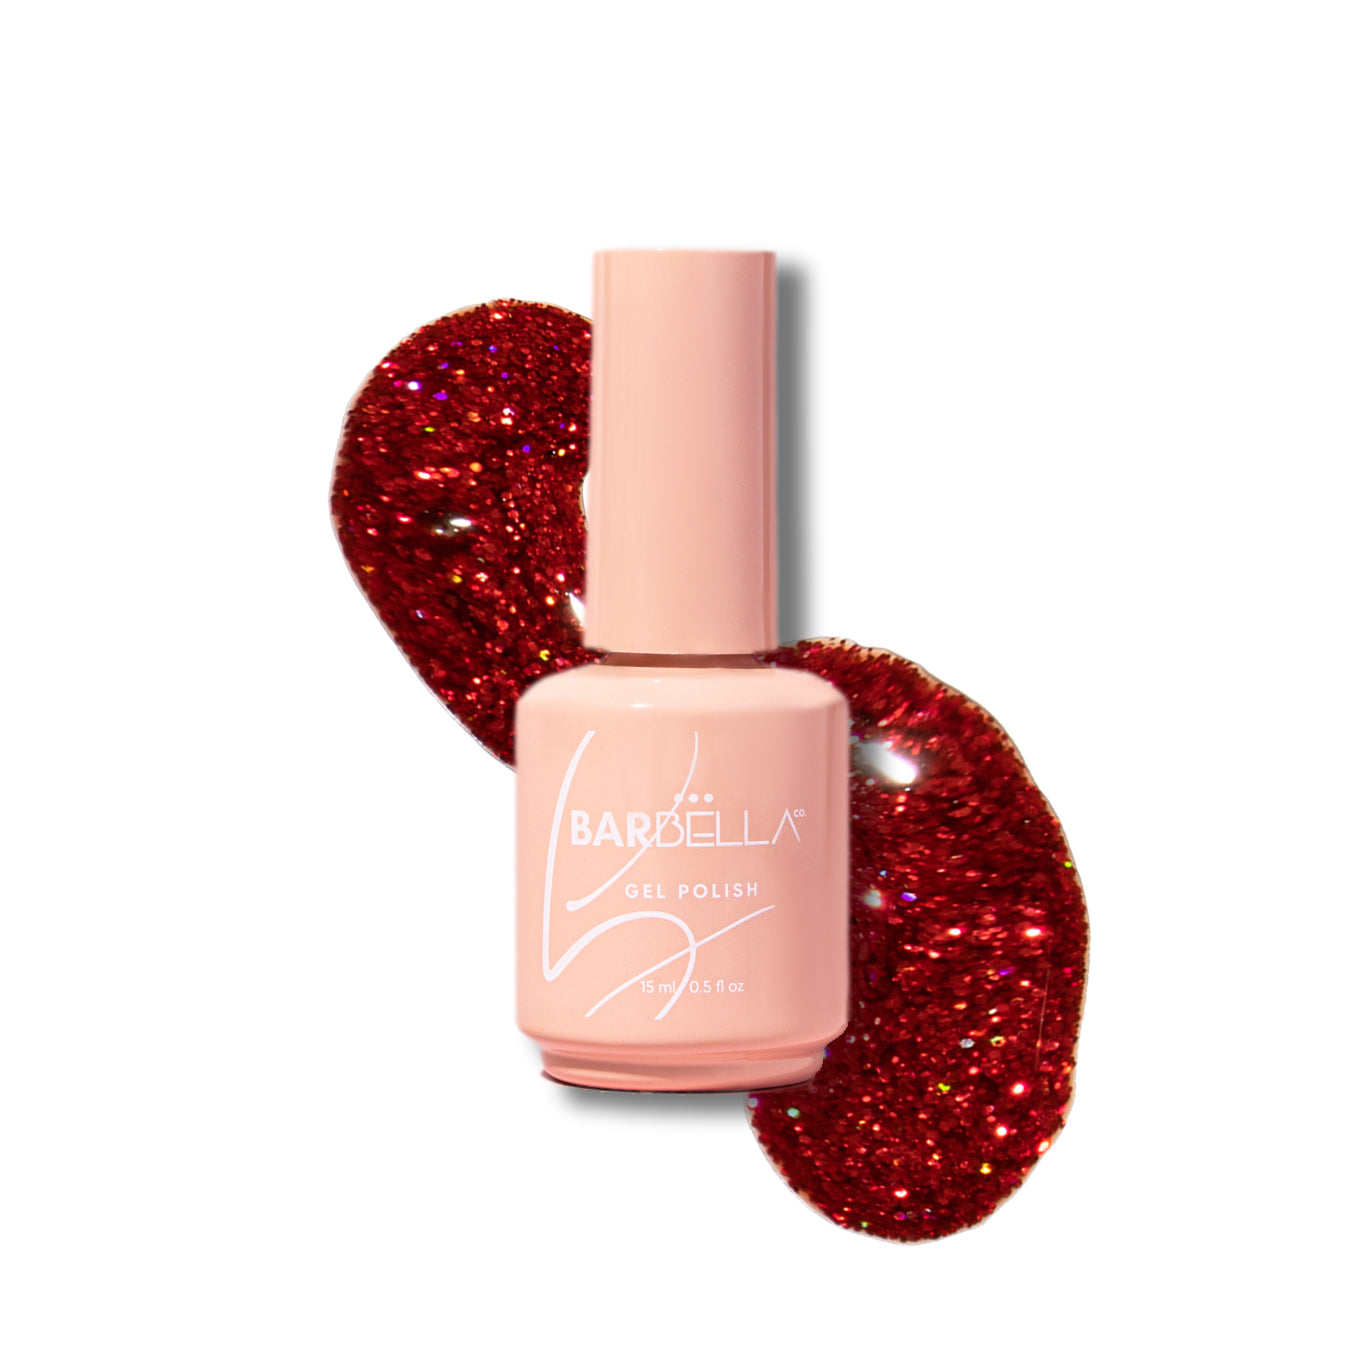
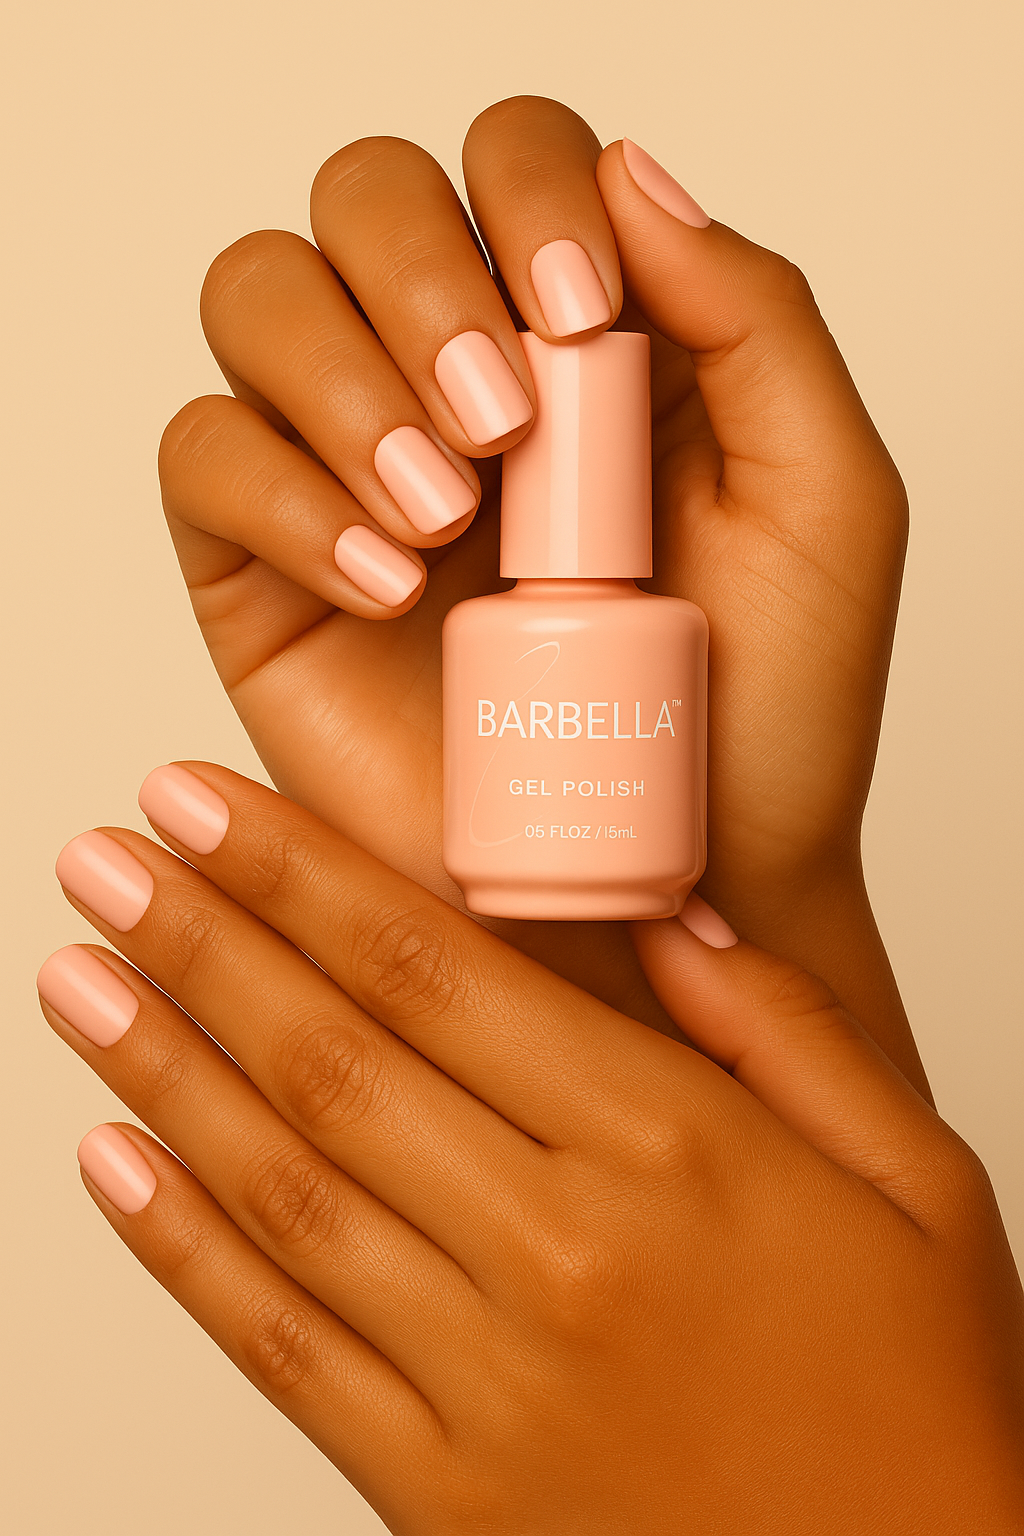
- Esmaltes de gel veganos en varios colores
- Pinceles de detalle
- Herramientas para puntear
- Cinta para delinear arte de uñas
- Quitaesmalte
- Toallitas sin pelusa
Trazos básicos de arte de uñas
-
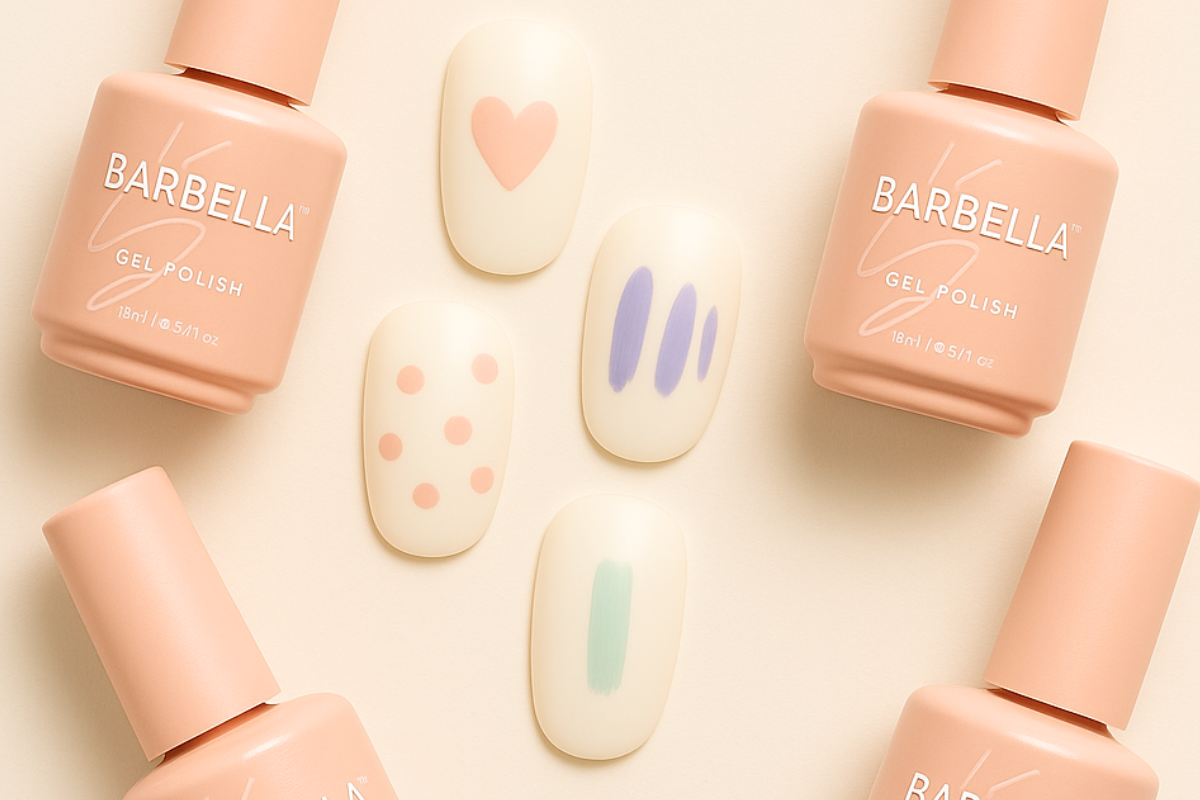
Punteado
- Herramienta: Herramienta de puntear o la punta de una horquilla.
- Técnica: Sumerge la herramienta en el esmalte de uñas y presiónala suavemente sobre tu uña para crear puntos. Experimenta con diferentes tamaños usando distintas cantidades de esmalte o diferentes herramientas de puntear.
- Consejo de diseño: Usa puntos para crear patrones simples como lunares o flores.
-
Rayas
- Herramienta: Pincel para delinear o pincel de detalle fino.
- Técnica: Sumerge el pincel en el esmalte de uñas, luego arrástralo por la uña para crear líneas rectas o curvas. Practica la creación de rayas finas y gruesas.
- Consejo de diseño: Las rayas pueden ser verticales, horizontales, diagonales o incluso en zigzag para un aspecto dinámico.
-
Punteado
- Herramienta: Pincel de detalle pequeño.
- Técnica: Golpea ligeramente el pincel sobre tu uña para crear un efecto moteado o punteado. Esta técnica funciona bien para agregar textura o crear un efecto degradado.
- Consejo de diseño: Usa el punteado para crear un fondo degradado o añadir textura a un diseño floral.
-
Remolinos
- Herramienta: Pincel de detalle fino o palillo de dientes.
- Técnica: Usa la herramienta para dibujar líneas o patrones en espiral en tus uñas. Los remolinos pueden agregar un toque caprichoso a tu arte de uñas.
- Consejo de diseño: Combina remolinos con puntos o rayas para un diseño más complejo.
Diseños de uñas para principiantes
-
Uñas con lunares
- Color base: Aplica una capa base y deja secar, luego aplica el color base elegido.
- Técnica de punteado: Usa una herramienta de puntear para crear puntos de un color contrastante en tus uñas. Puedes colocar los puntos al azar o en un patrón.
- Acabado: Sella con una capa superior.
-
Uña de acento rayada
- Color base: Aplica una capa base y deja secar, luego aplica el color base elegido.
- Técnica de delineado: Usa cinta para delinear para crear líneas rectas en una o más uñas de acento. Pinta sobre la cinta con un color contrastante.
- Acabado: Retira cuidadosamente la cinta mientras el esmalte aún esté húmedo y sella con una capa superior.
-
Patrones geométricos
- Color base: Aplica una capa base y deja secar, luego aplica el color base elegido.
- Cinta para delinear: Usa cinta para delinear para crear patrones geométricos como triángulos o chevrones. Pinta sobre la cinta con colores contrastantes.
- Acabado: Retira la cinta mientras el esmalte aún esté húmedo y sella con una capa superior.
Consejos para un arte de uñas perfecto
- Practica la paciencia: El arte de uñas requiere manos firmes y paciencia. Tómate tu tiempo con cada trazo y diseño.
- Usa capas finas: Aplica el esmalte de uñas en capas finas para evitar manchas y asegurar un secado rápido.
- Limpia los pinceles regularmente: Mantén tus pinceles limpios limpiándolos con una toallita sin pelusa empapada en quitaesmalte.
- Experimenta: No tengas miedo de experimentar con colores y patrones. El arte de uñas se trata de creatividad y expresión personal.
Comentarios