How To - Spider Web Nail Design For Halloween
·
·
Halloween is the time of year to dress up in crazy costumes so why not spice up your nails too? A super-simple spider themed manicure only requires a few colors and you don't need to be a professional to create it. This can make for a very simple but cute design. With a little more creativity, you can totally elevate this manicure. Adding elements like ombre detailing or some rhinestones can make them even more eye-catching for the time of year.
What You Need:
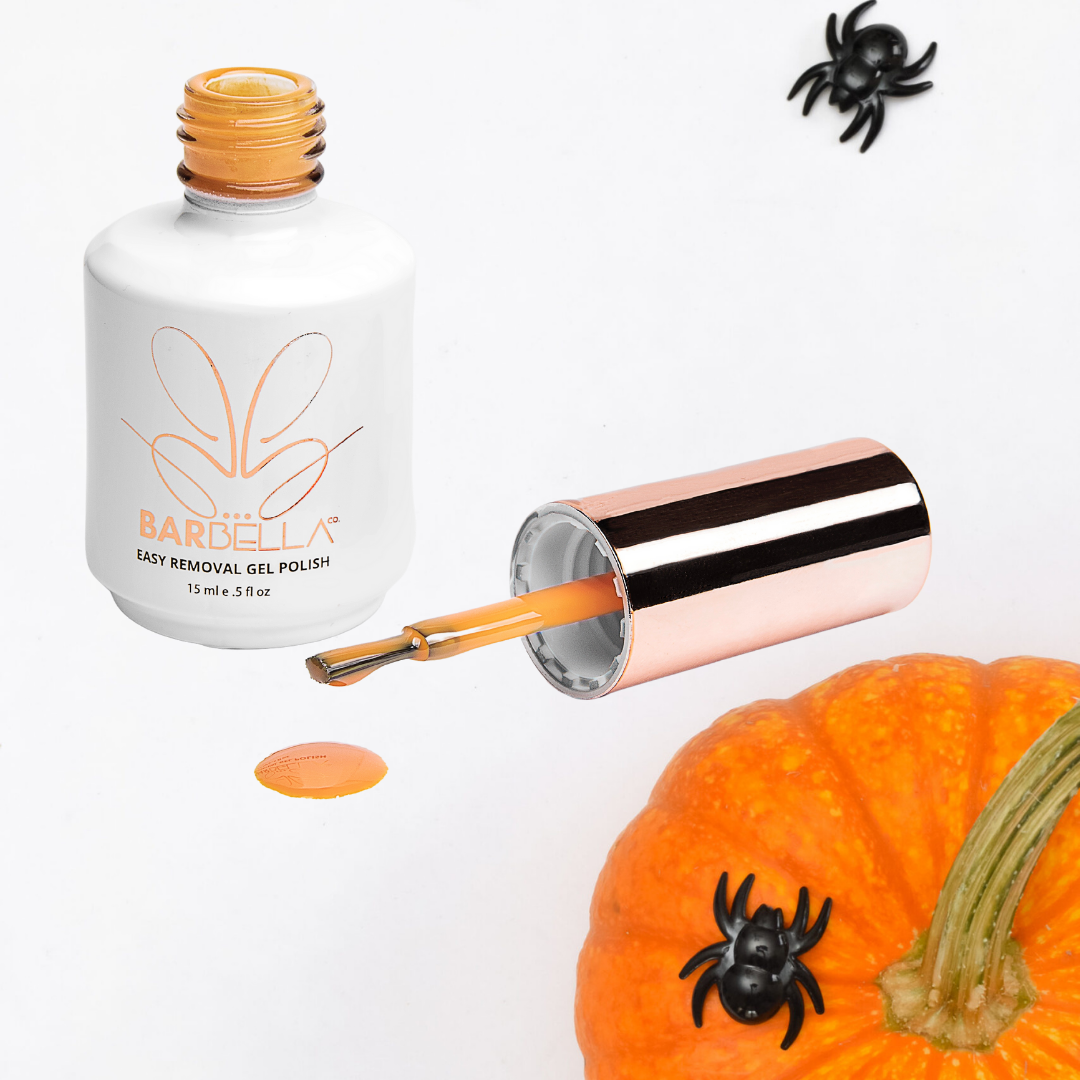
- Black, White and Nail Polish
- Thin nail brush with long thin bristles
- Base Coat and Top Coat
How To:
- Start with a simple base coat.
- Decide which nails will be orange or black, then apply 2 coats of nail polish on each nail.
- Use a liner nail art brush to draw the baseline of spider webs. On the black nail, paint the web with the white polish and use the black polish on the orange nails.
- Draw the first and the smallest circle of the spiderweb, continue with the second web circle, then finish with a third.
- Wait until the white lines on the black nails are dry. Then take your brush and apply orange polish directly over the lines. This will help the orange polish pop and be easier to see on the black polish.
- Finish by applying 2 coats of clear top coats to create a glossy finish and seal the design.
If you use Barbella co. products to create a spooky nail look with these steps, tag us on instagram @barbella_co so we can see the amazing creativity!


Comments