
How to Do a Manicure at Home: The 10-Step Salon Method (Gel or Regular Polish)
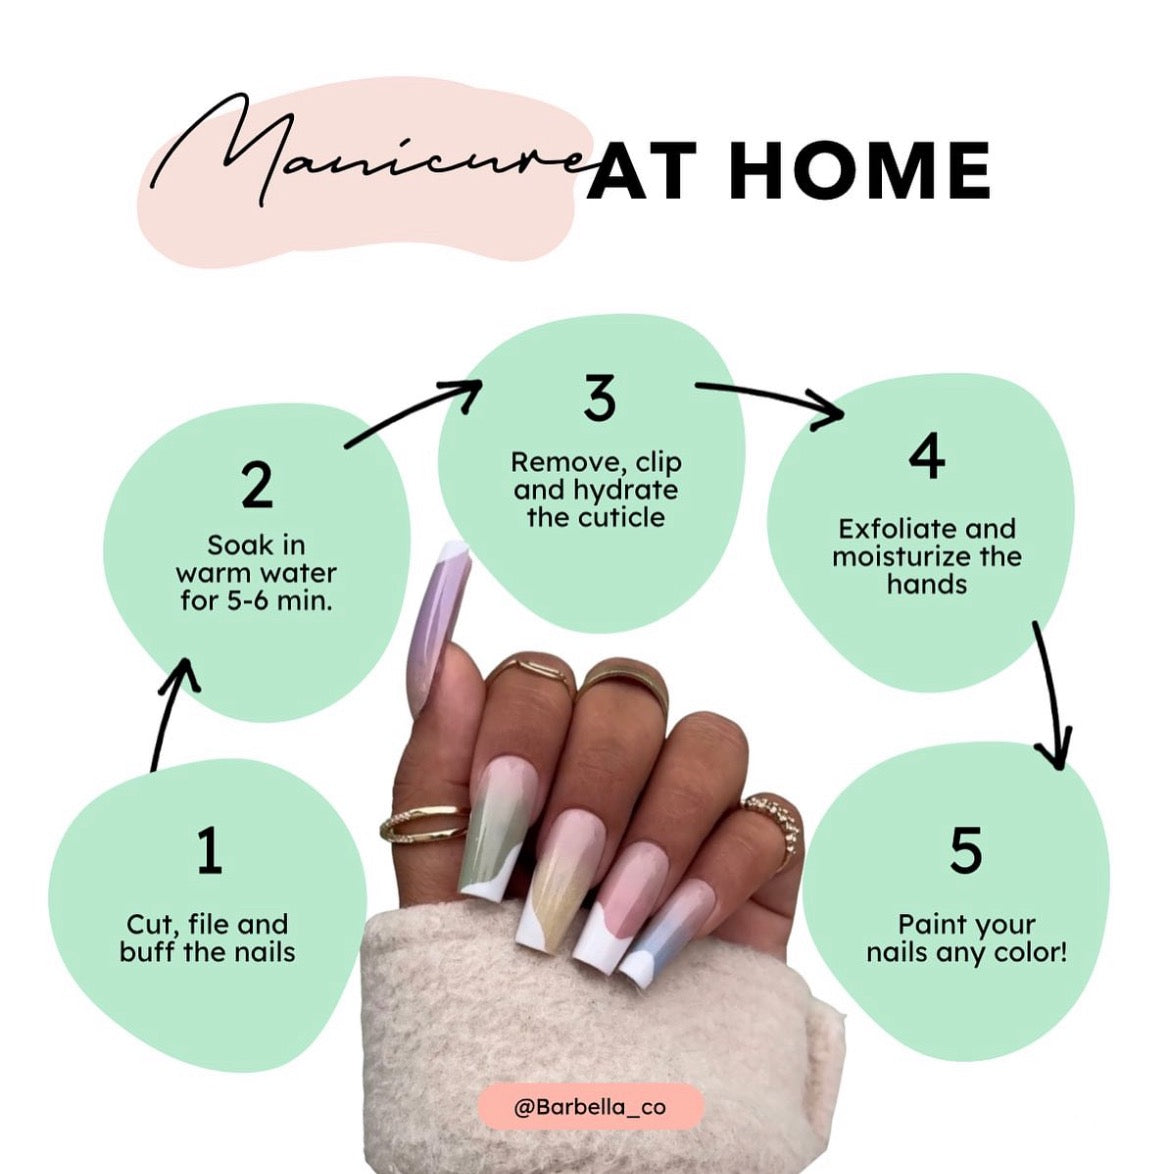
A salon manicure costs $40 to $70 and an hour of your afternoon. The at-home version costs a one-time kit and about 45 minutes, and once you've done it three or four times, it looks the same. The difference between "looks homemade" and "looks salon" comes down to prep and patience, not talent. Here's the full method, for gel or regular polish.
What you need
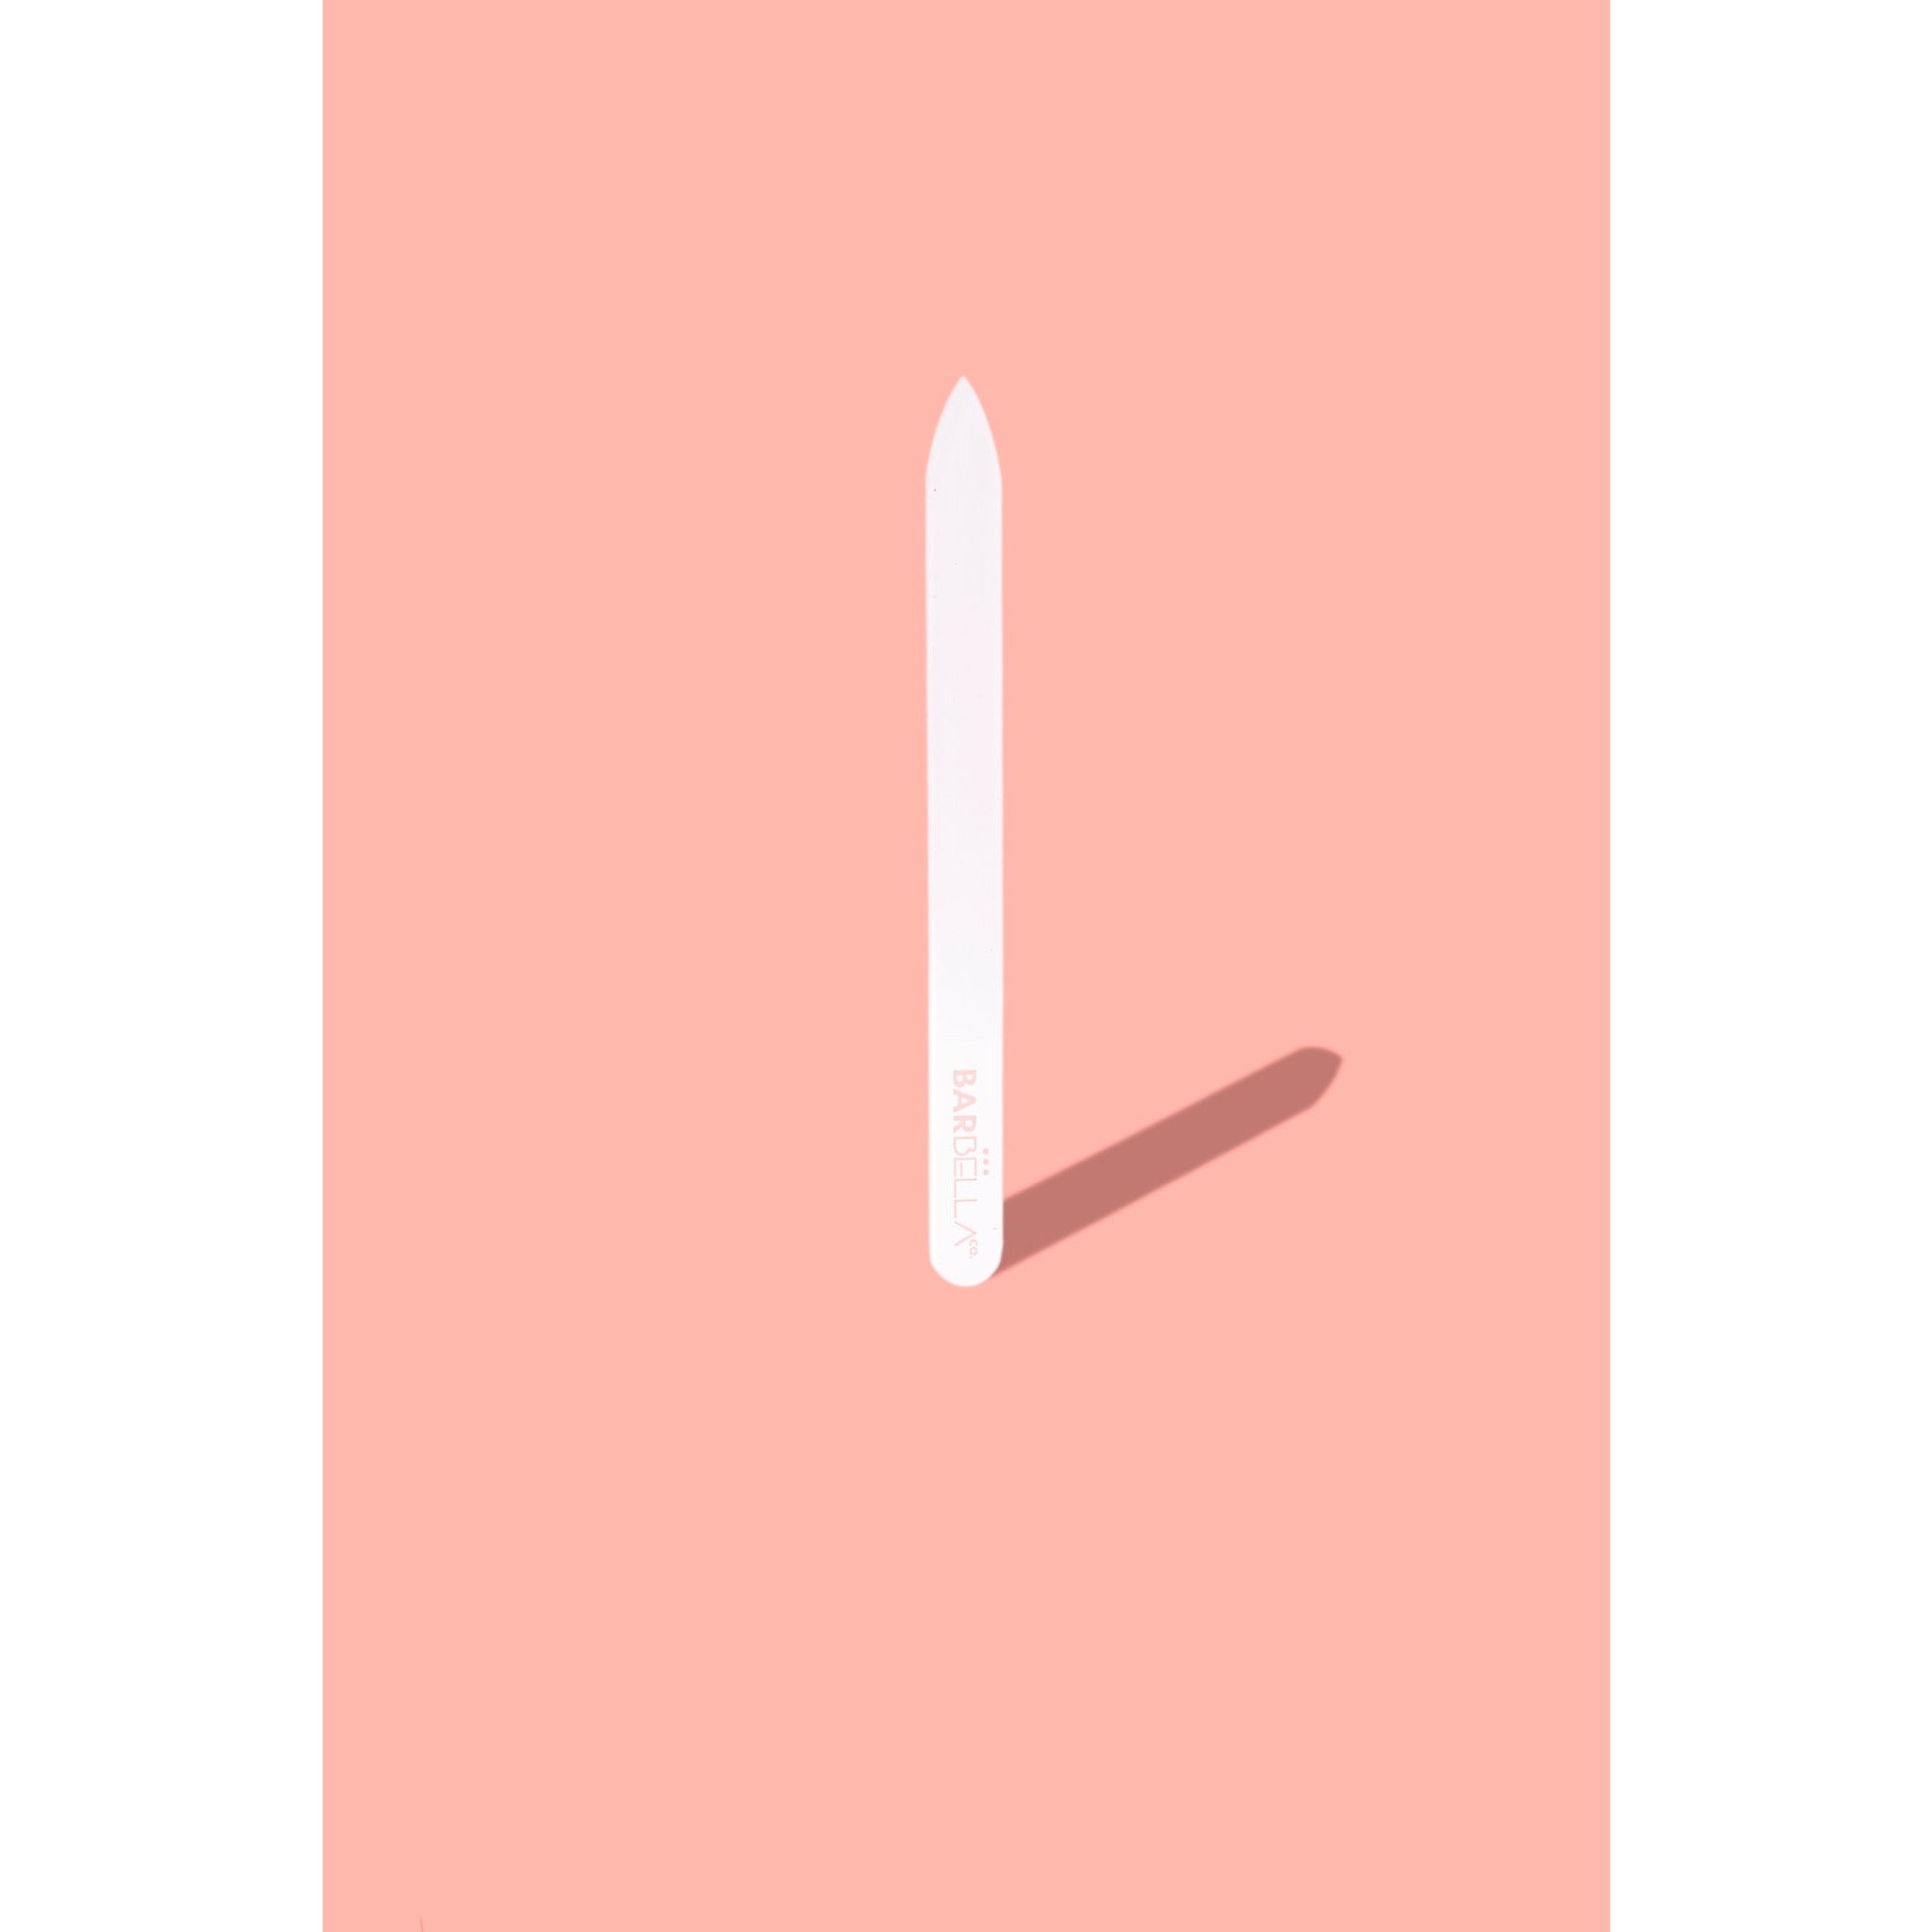
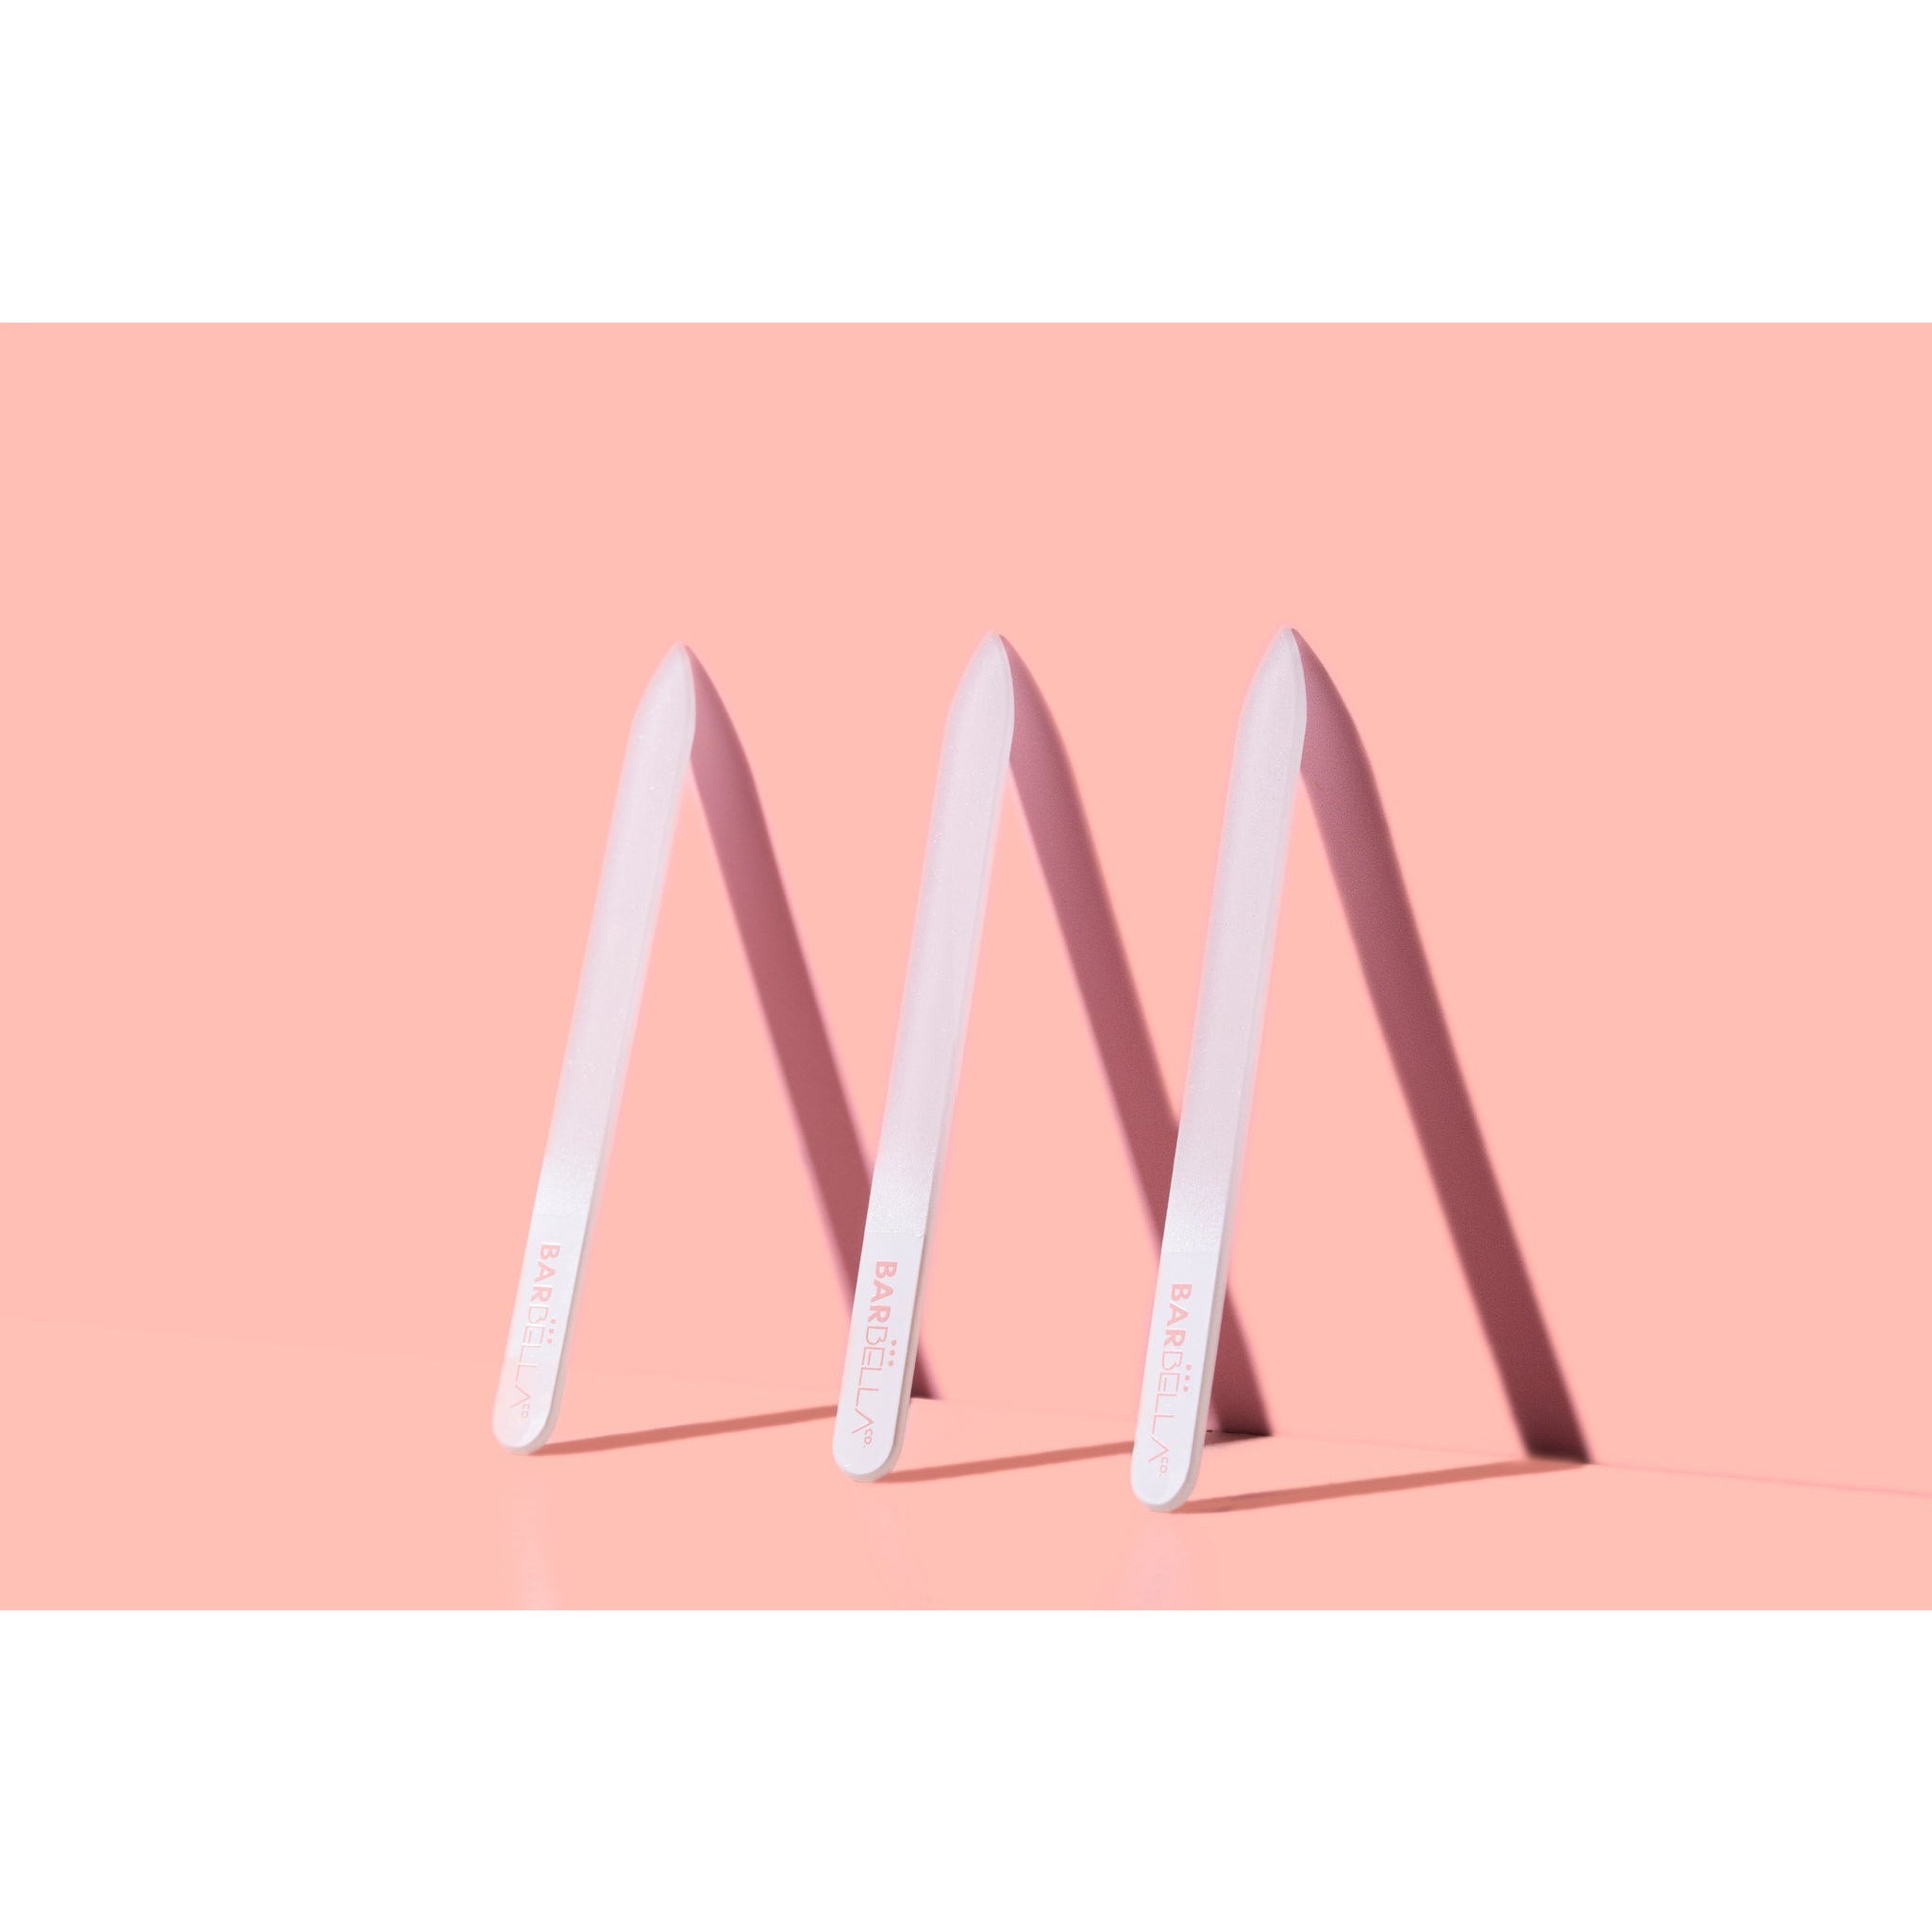
- Nail file (a glass file is gentler than an emery board and lasts years): Crystal Nail File
- Buffer block
- Cuticle pusher (wood or steel) and cuticle oil
- Rubbing alcohol or a lint-free wipe with nail cleanser
- Base coat: Gel Base Coat
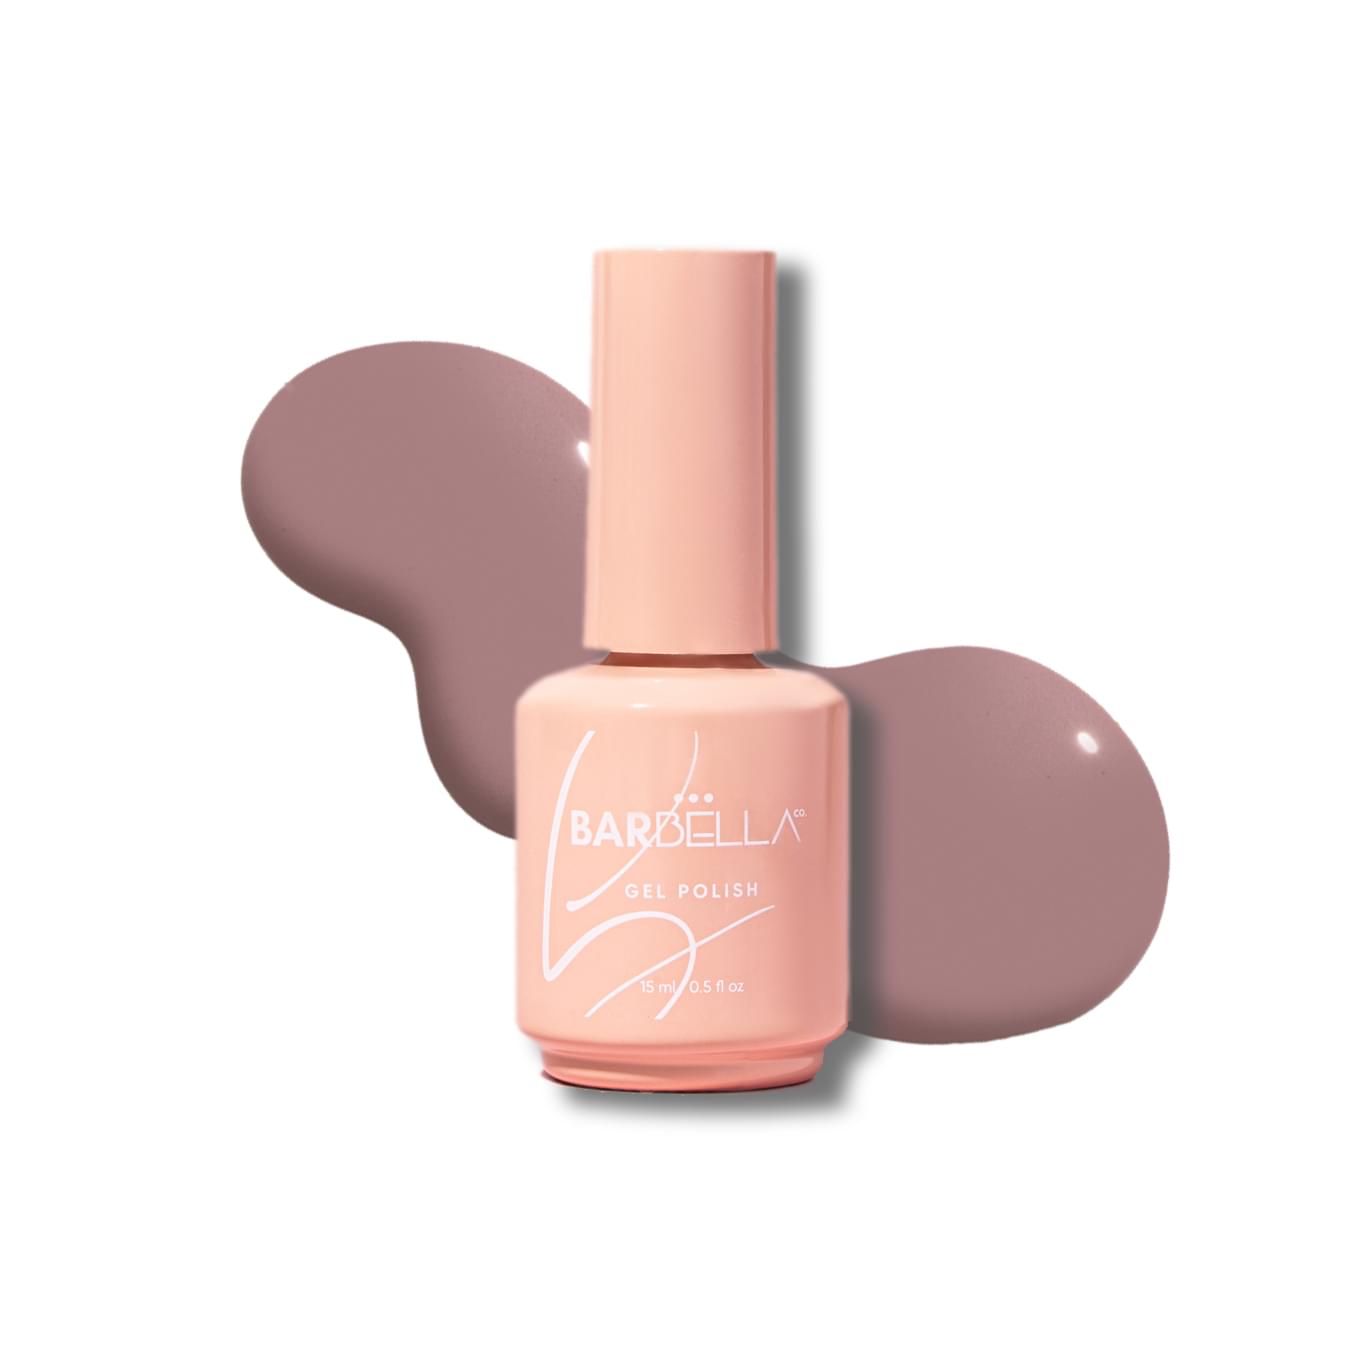
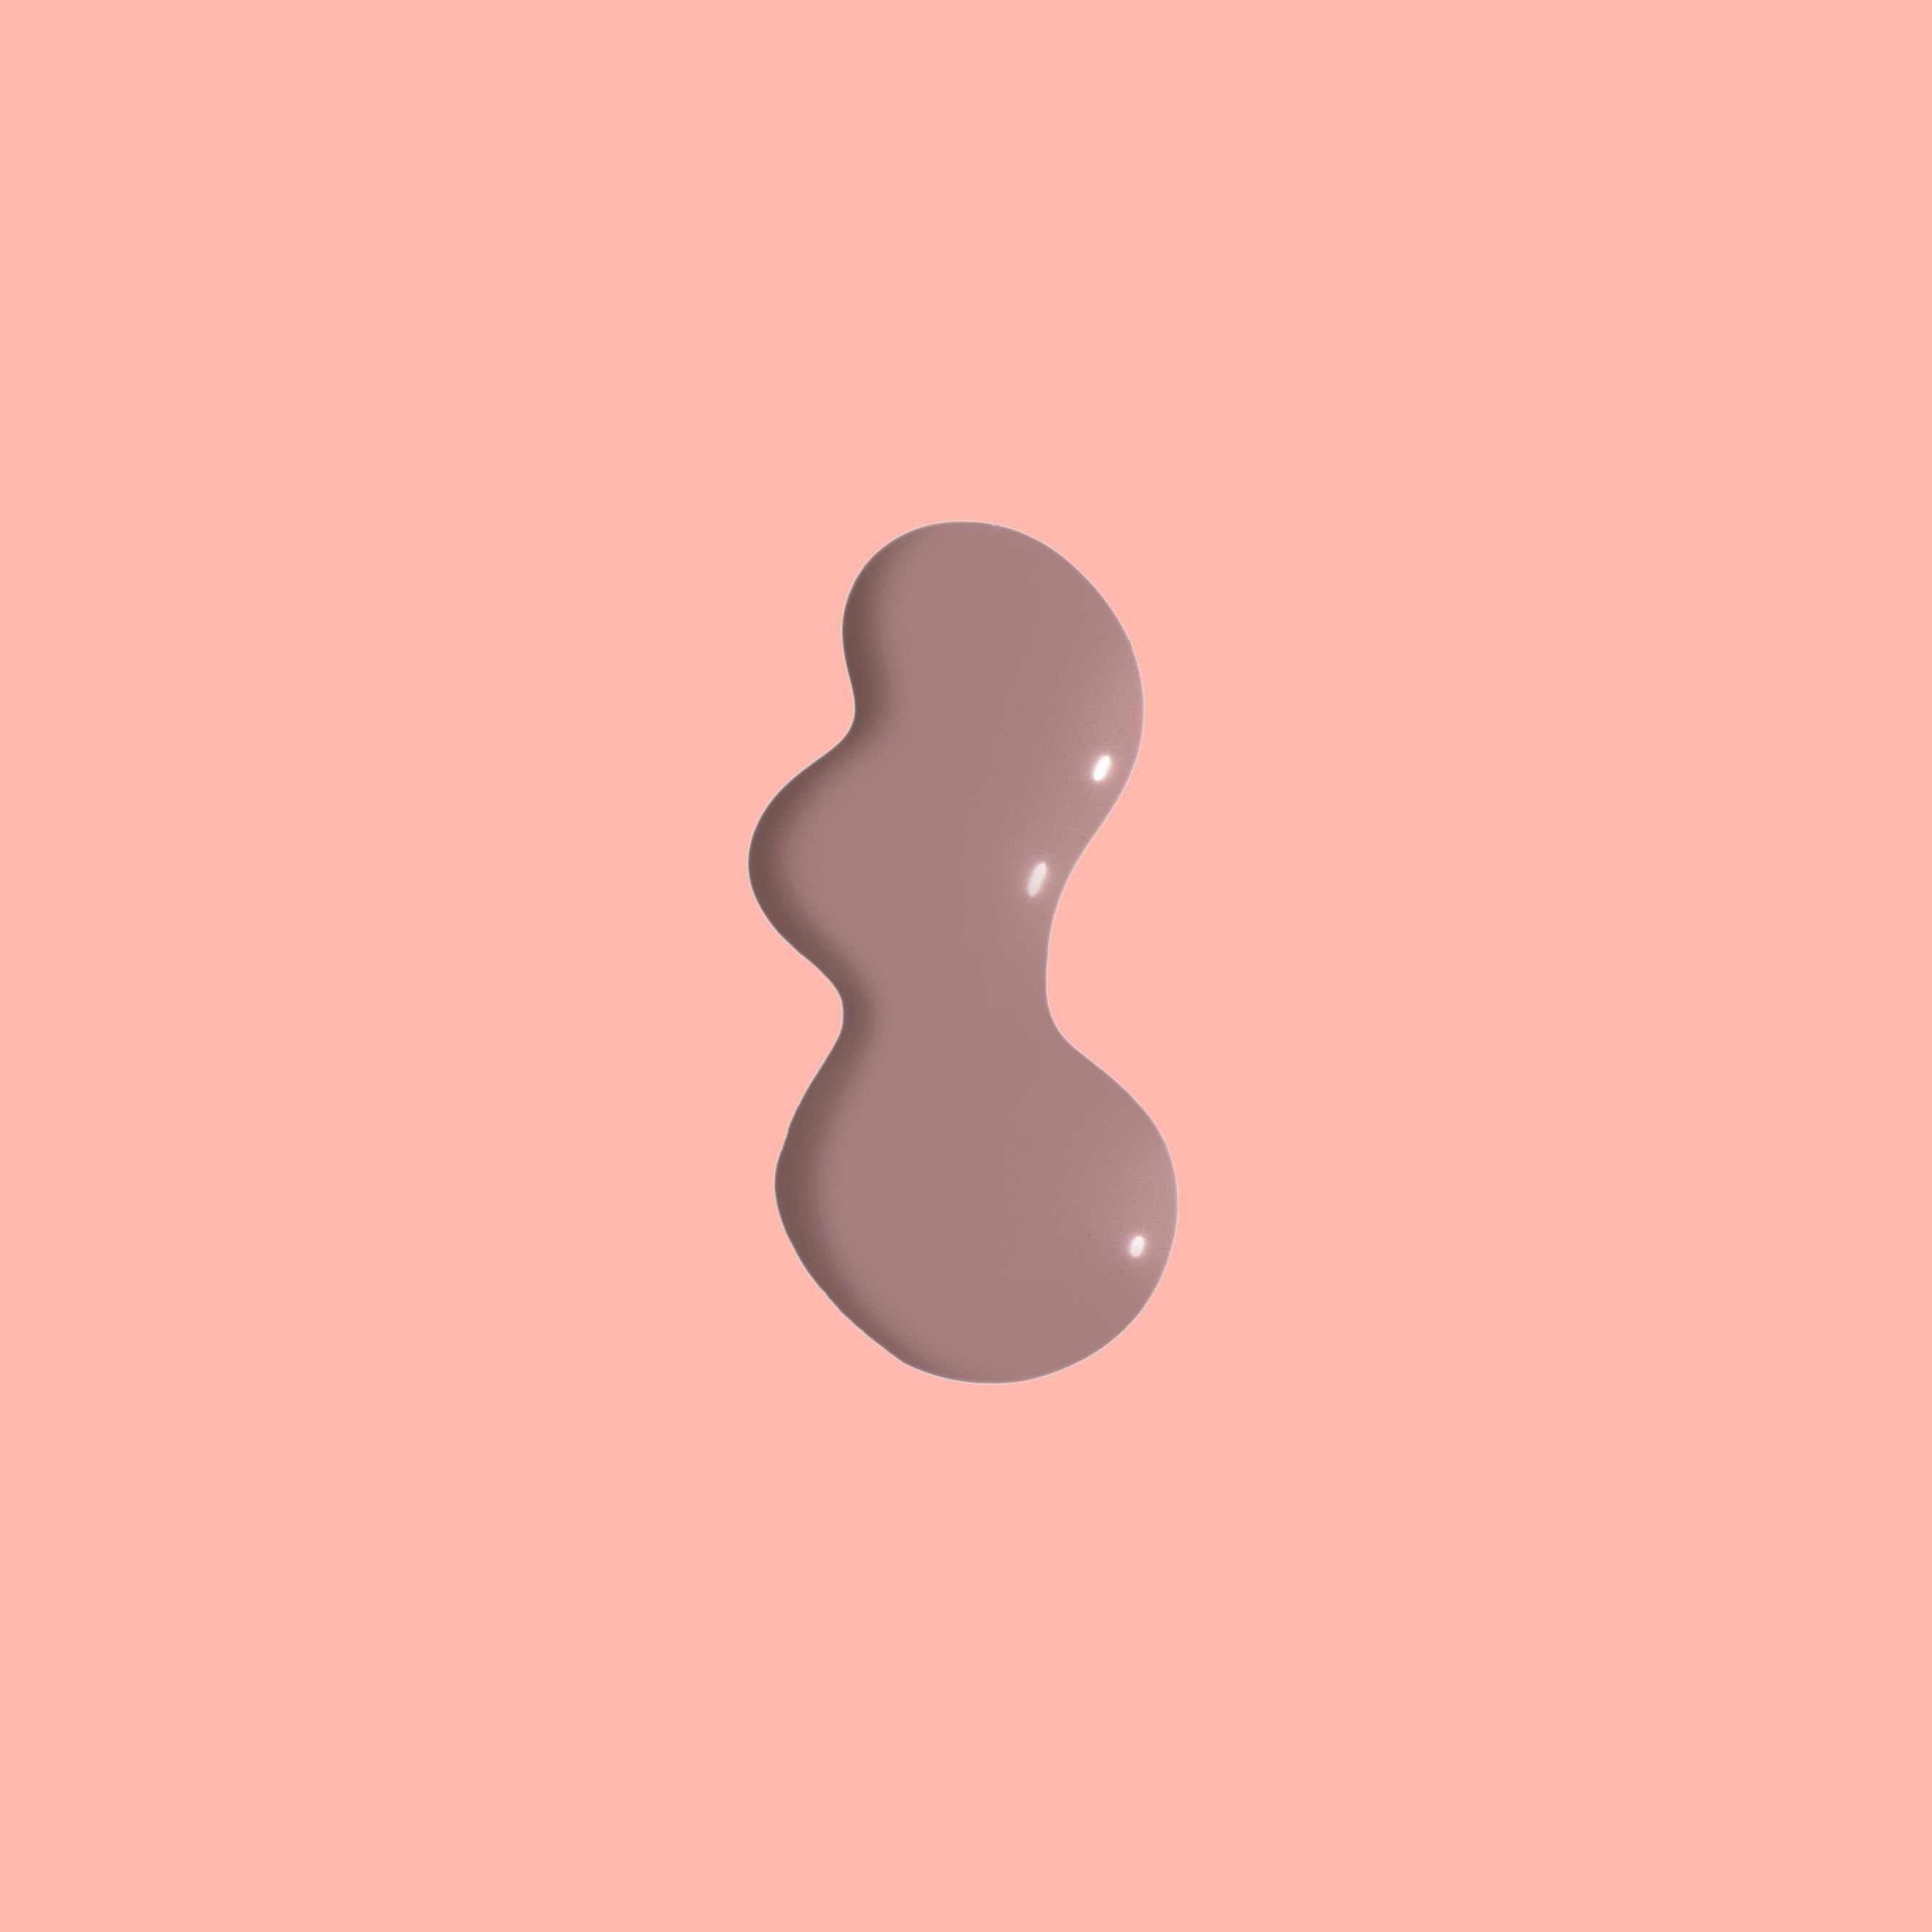
- Color: any BarBella Co. gel polish (this season's picks are in our fall 2026 nail colors guide)
- Top coat: Diamond Shine (glossy) or Velvet Matte
- For gel: an LED lamp
- A small flat brush for clean-up
Step 1: Remove old polish completely
Gel: file the shine off the top coat, soak a cotton pad in acetone, press it on, wrap in foil, wait 10 to 15 minutes, gently push the softened gel off with a pusher. Never peel gel; it takes the top layers of your nail with it.
Regular: acetone-free remover on a pad, hold for a few seconds, wipe.
Step 2: Shape the nail
File in one direction, not a saw motion, which splits the edge. Pick a shape that suits your nail bed: round for wide beds or short nails, square for narrow beds and a 90s look, almond or oval to lengthen. If you're unsure, our Nail Art Planner templates show all five shapes life-size.
Step 3: Soak and soften
Two to three minutes in warm water with a drop of soap. Any longer and the nail absorbs water, swells, and shrinks back after you've painted, which is a hidden cause of chips. Skip the soak entirely for gel.
Step 4: Push back cuticles, don't cut them
Apply cuticle oil, wait a minute, then gently push the cuticle back with the pusher. Only trim loose hangnails. Cutting the cuticle itself opens the door to infection and grows back rougher.
Step 5: Buff lightly
Two or three passes over each nail with the fine side of the buffer. You're removing shine and ridges, not thickness. Over-buffing is the most common home mistake and the reason nails feel thin after a few manicures.
Step 6: Dehydrate the nail
Wipe every nail with alcohol on a lint-free pad. This removes oil and dust, and it's the single step that decides whether gel lasts three days or three weeks. Don't touch the nails after this.
Step 7: Base coat, thin
One thin coat of Gel Base Coat, staying a hair away from the cuticle and skin. Cap the free edge (a quick swipe across the tip). Cure 30 to 60 seconds under LED, or air-dry for regular polish.
Step 8: Color, two thin coats
Thin is the whole secret. Thick coats cure unevenly, wrinkle, and lift at the edges. First coat can look streaky; the second fixes it. Cap the free edge on each coat. Cure between coats.
Three-stroke method: one stroke down the center, one on each side, keeping the brush a hair away from the cuticle. If polish touches skin, clean it now with the flat brush and alcohol, before curing. Doing a French tip? Our French manicure guide covers the line.
Step 9: Top coat, and cap the edge again
A full coat of Diamond Shine or Velvet Matte, sealed over the tip. Cure. Diamond Shine cures without a sticky layer, so there's no final wipe.
Step 10: Oil, and keep oiling
Cuticle oil on every nail now, and every day after. Hydrated nails flex instead of chip, and the cuticle line stays clean as the polish grows out.
The five mistakes that cause chips
- Skipping the alcohol wipe (oil under the polish).
- Thick coats (they shrink and lift).
- Not capping the free edge (chips start at the tip).
- Soaking too long before painting (the nail swells, then shrinks).
- Washing dishes bare-handed in the first 24 hours (wear gloves; it makes a real difference).
Gel vs regular polish at home
Gel: lasts two to three weeks, needs a lamp, removal takes 15 minutes. Best if you want to do this every few weeks and forget about it.
Regular: lasts five to seven days, no lamp, removal takes two minutes. Best if you change colors often.
Both use the exact same prep. The prep is the manicure.
At-home manicure FAQ
How long does an at-home manicure take?
About 45 minutes the first time, 30 once you've done it a few times.
Do I need a UV or LED lamp?
Only for gel. Regular polish air-dries. If you're buying one, LED cures faster and lasts longer.
Why does my gel polish peel after a few days?
Almost always oil on the nail or coats applied too thick. Go back to steps 6 and 8.
How often should I do a manicure?
Every two to three weeks for gel, weekly for regular polish. Give nails a bare week every couple of months.
Is gel polish bad for your nails?
The polish isn't; the removal can be if you peel or over-file. Soak-off removal and light buffing keep nails healthy.
Every BarBella Co. polish is vegan, 10-free, HEMA-free, and Leaping Bunny Certified cruelty-free. Where nail care, health & conscience go hand in hand!
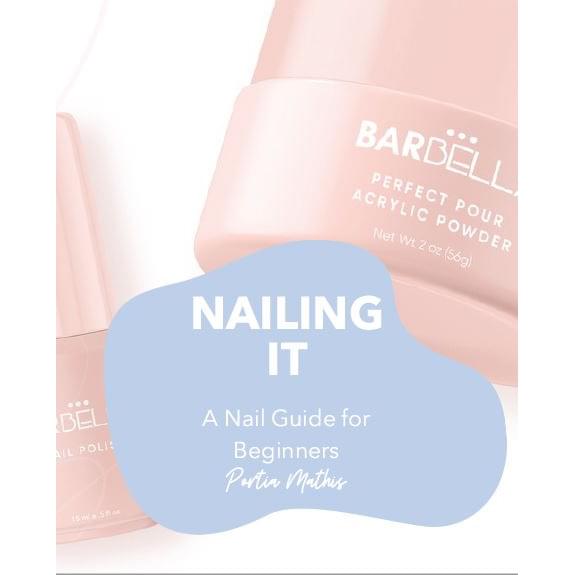
Want the full method with photos and troubleshooting? Nailing It, A Beginner's Guide to Nails is the instant-download version of this post, plus more.

Comments