
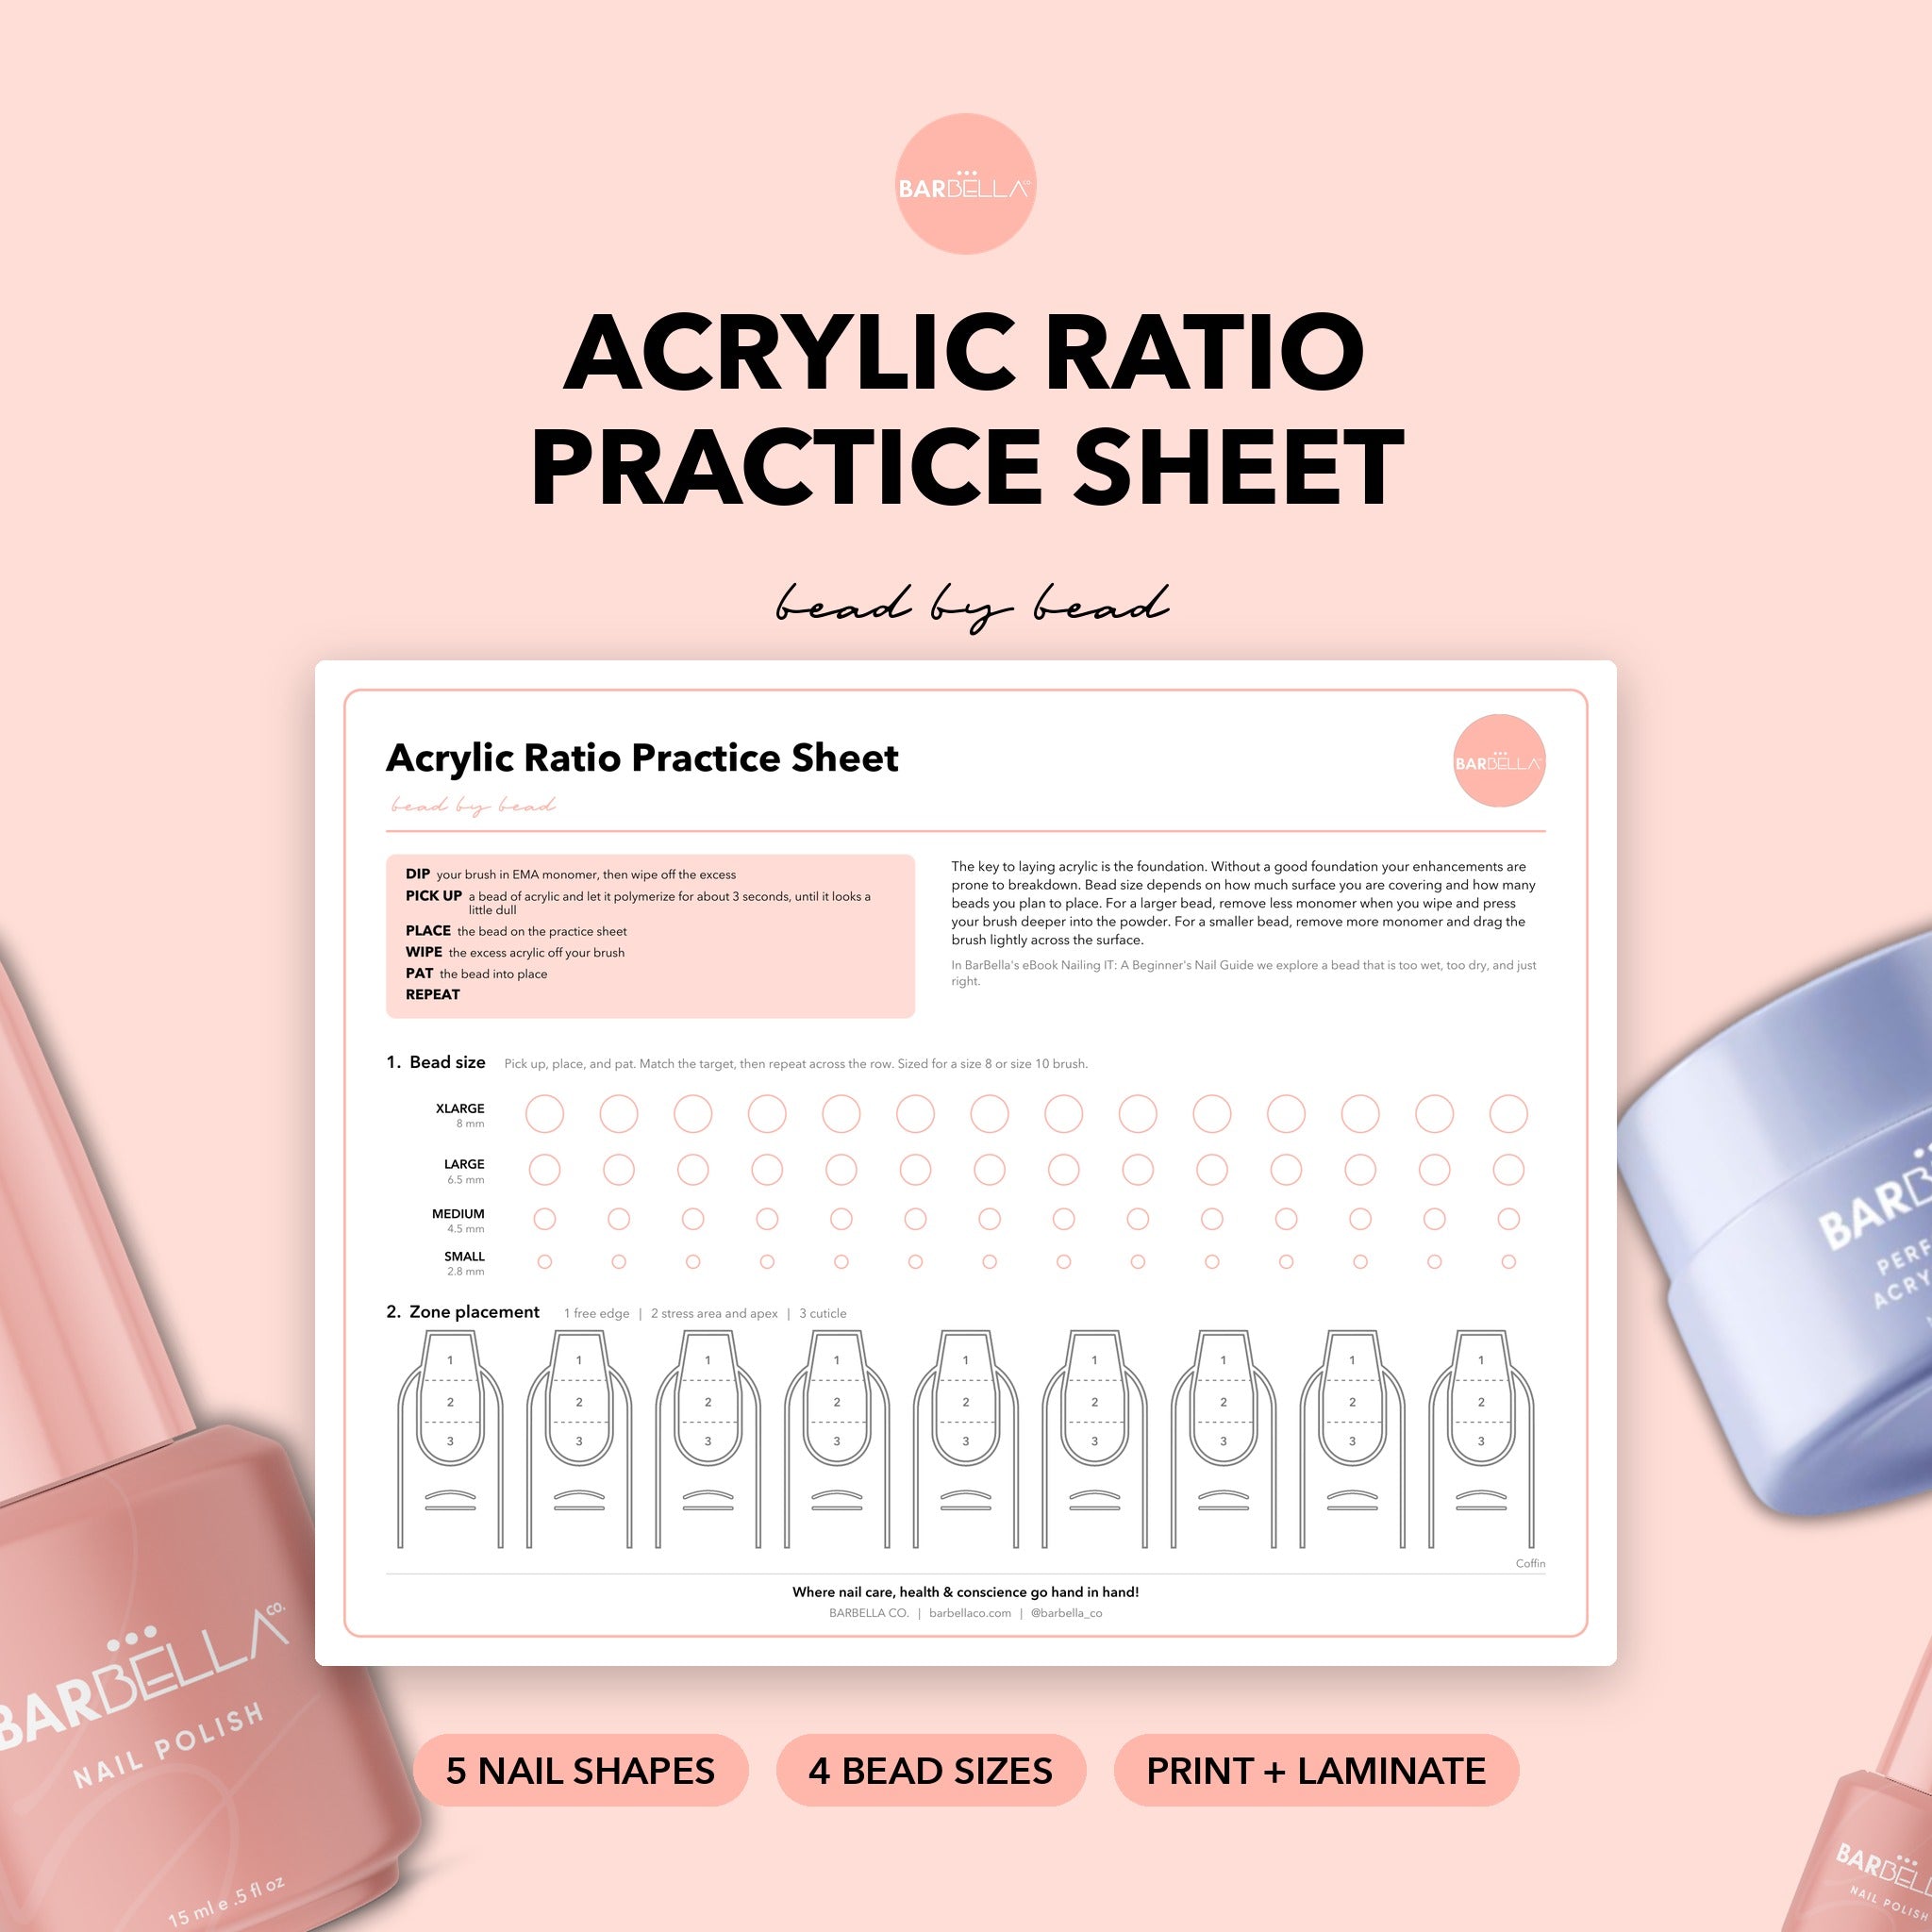
Printable acrylic ratio practice sheet for nail techs, five nail shapes, laminate and reuse
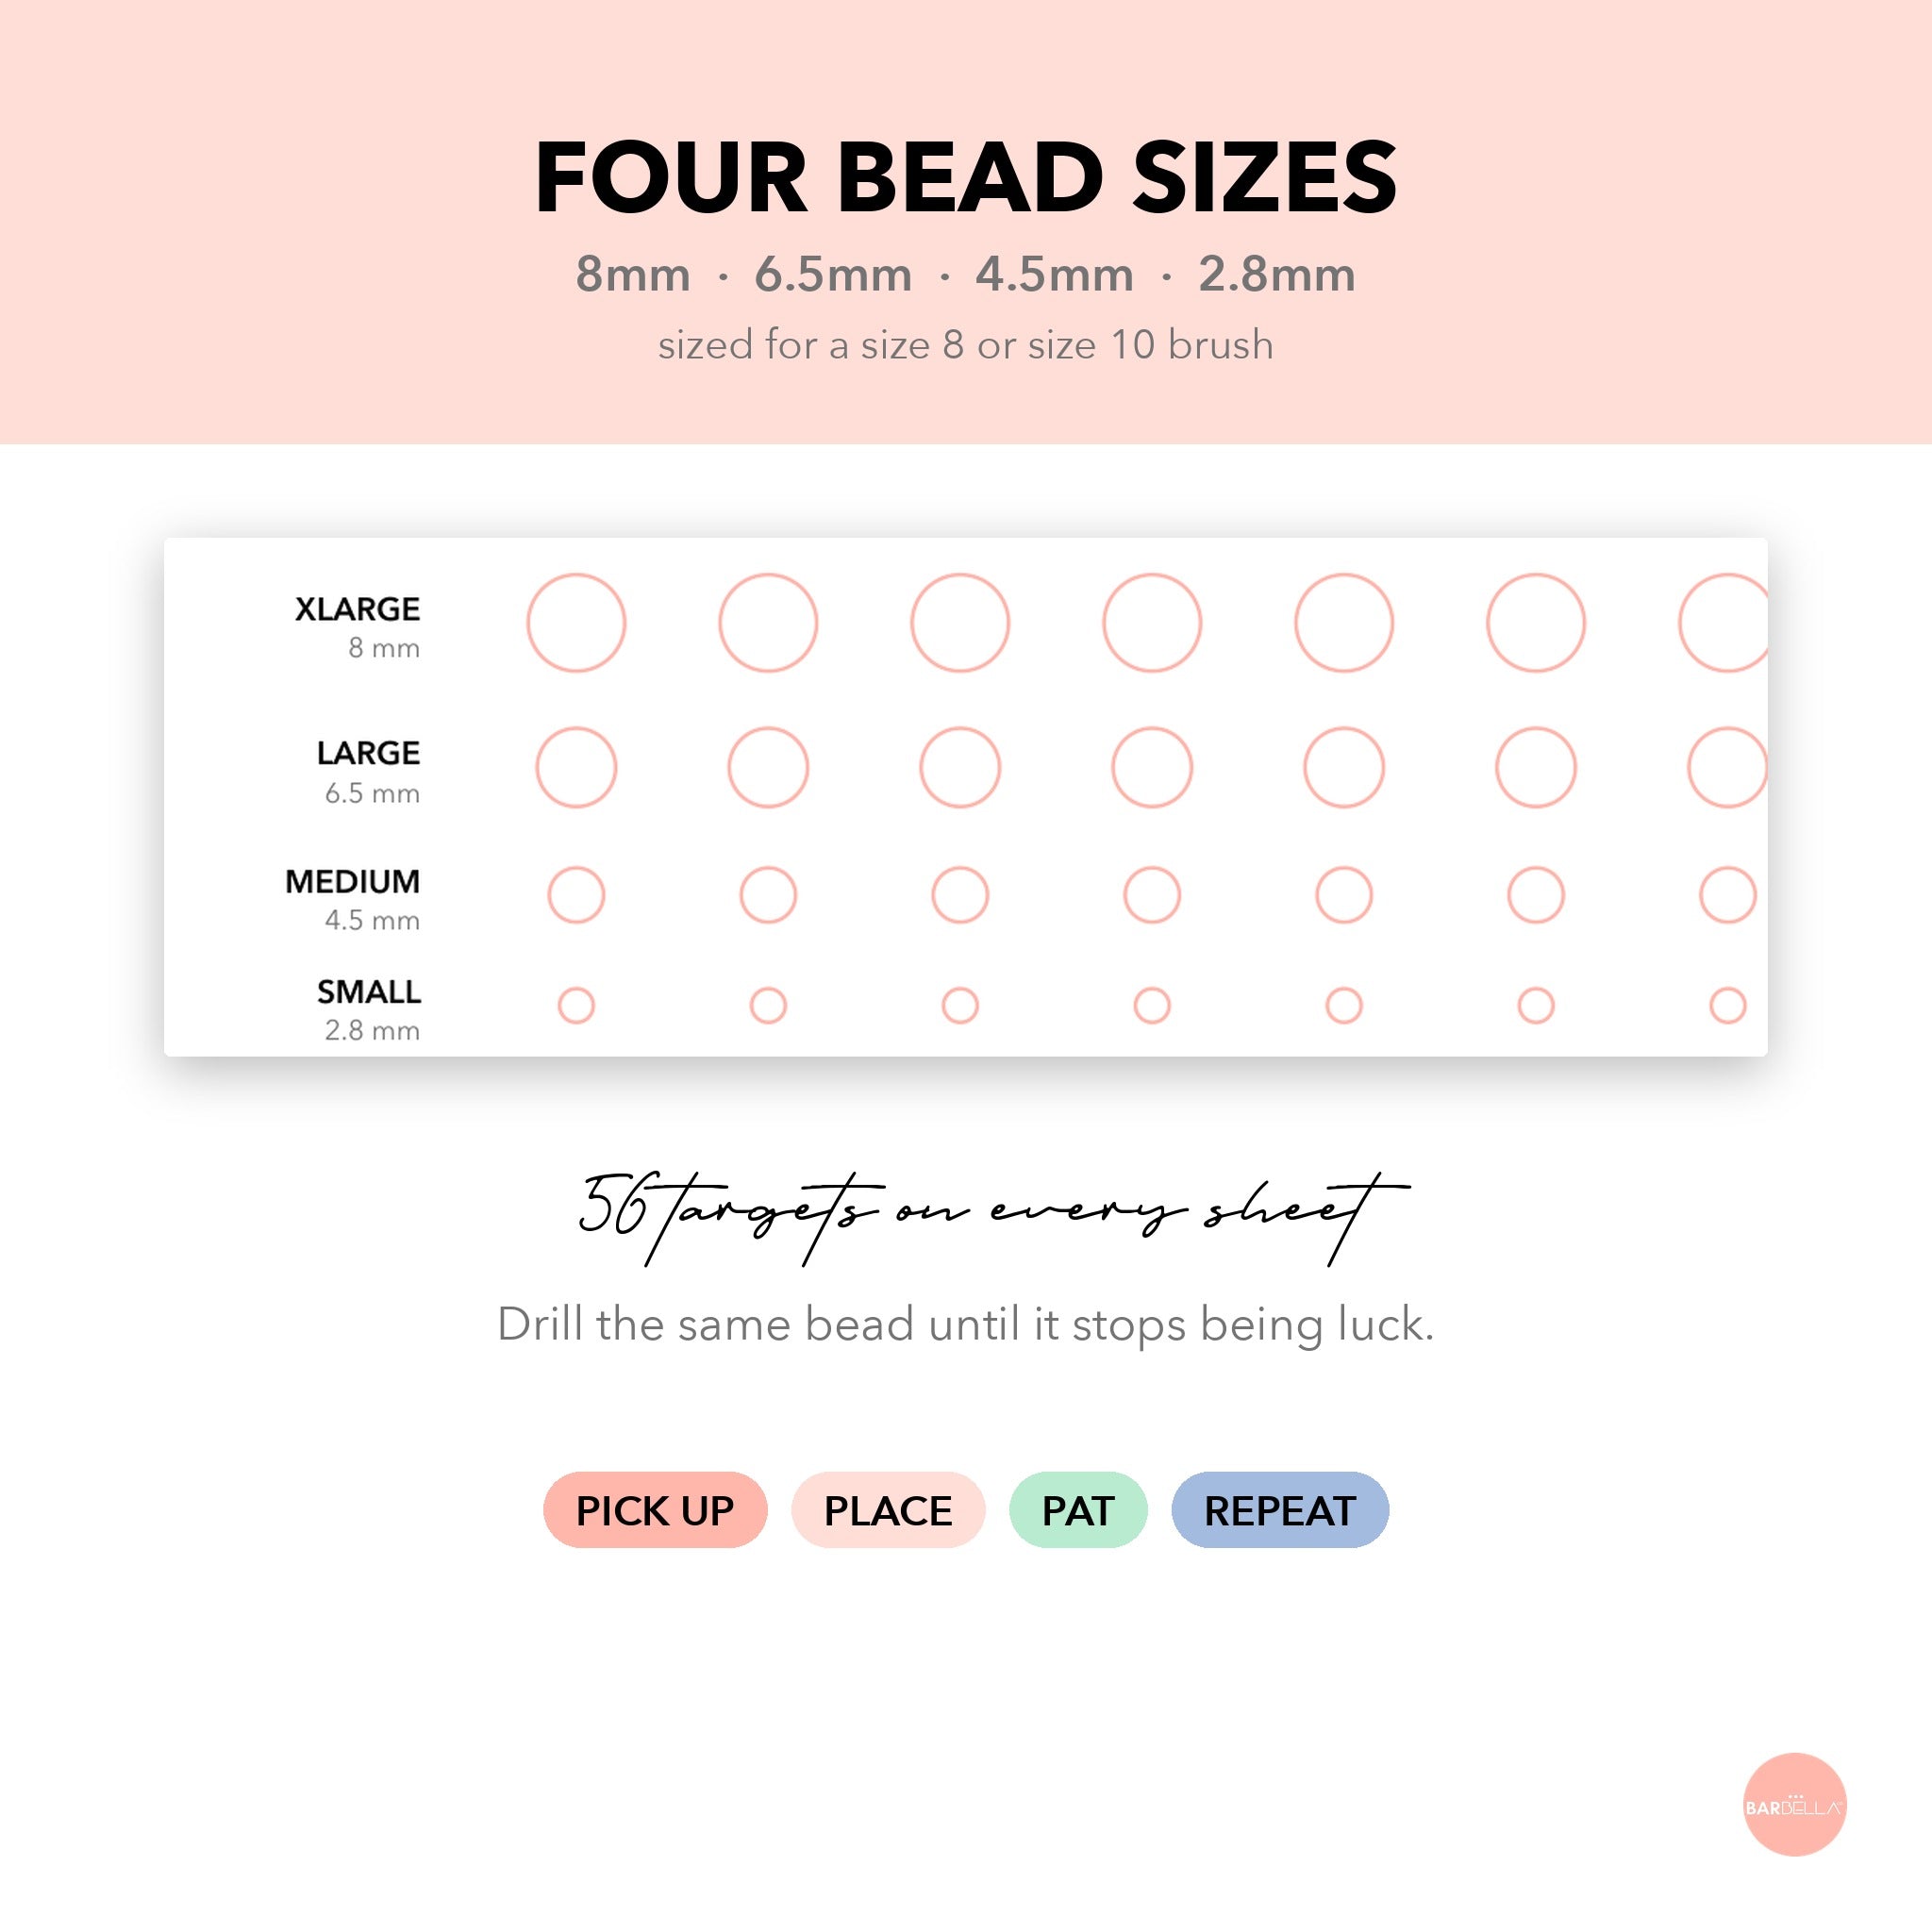
Acrylic bead size chart with 8mm, 6.5mm, 4.5mm and 2.8mm targets for a size 8 or 10 brush
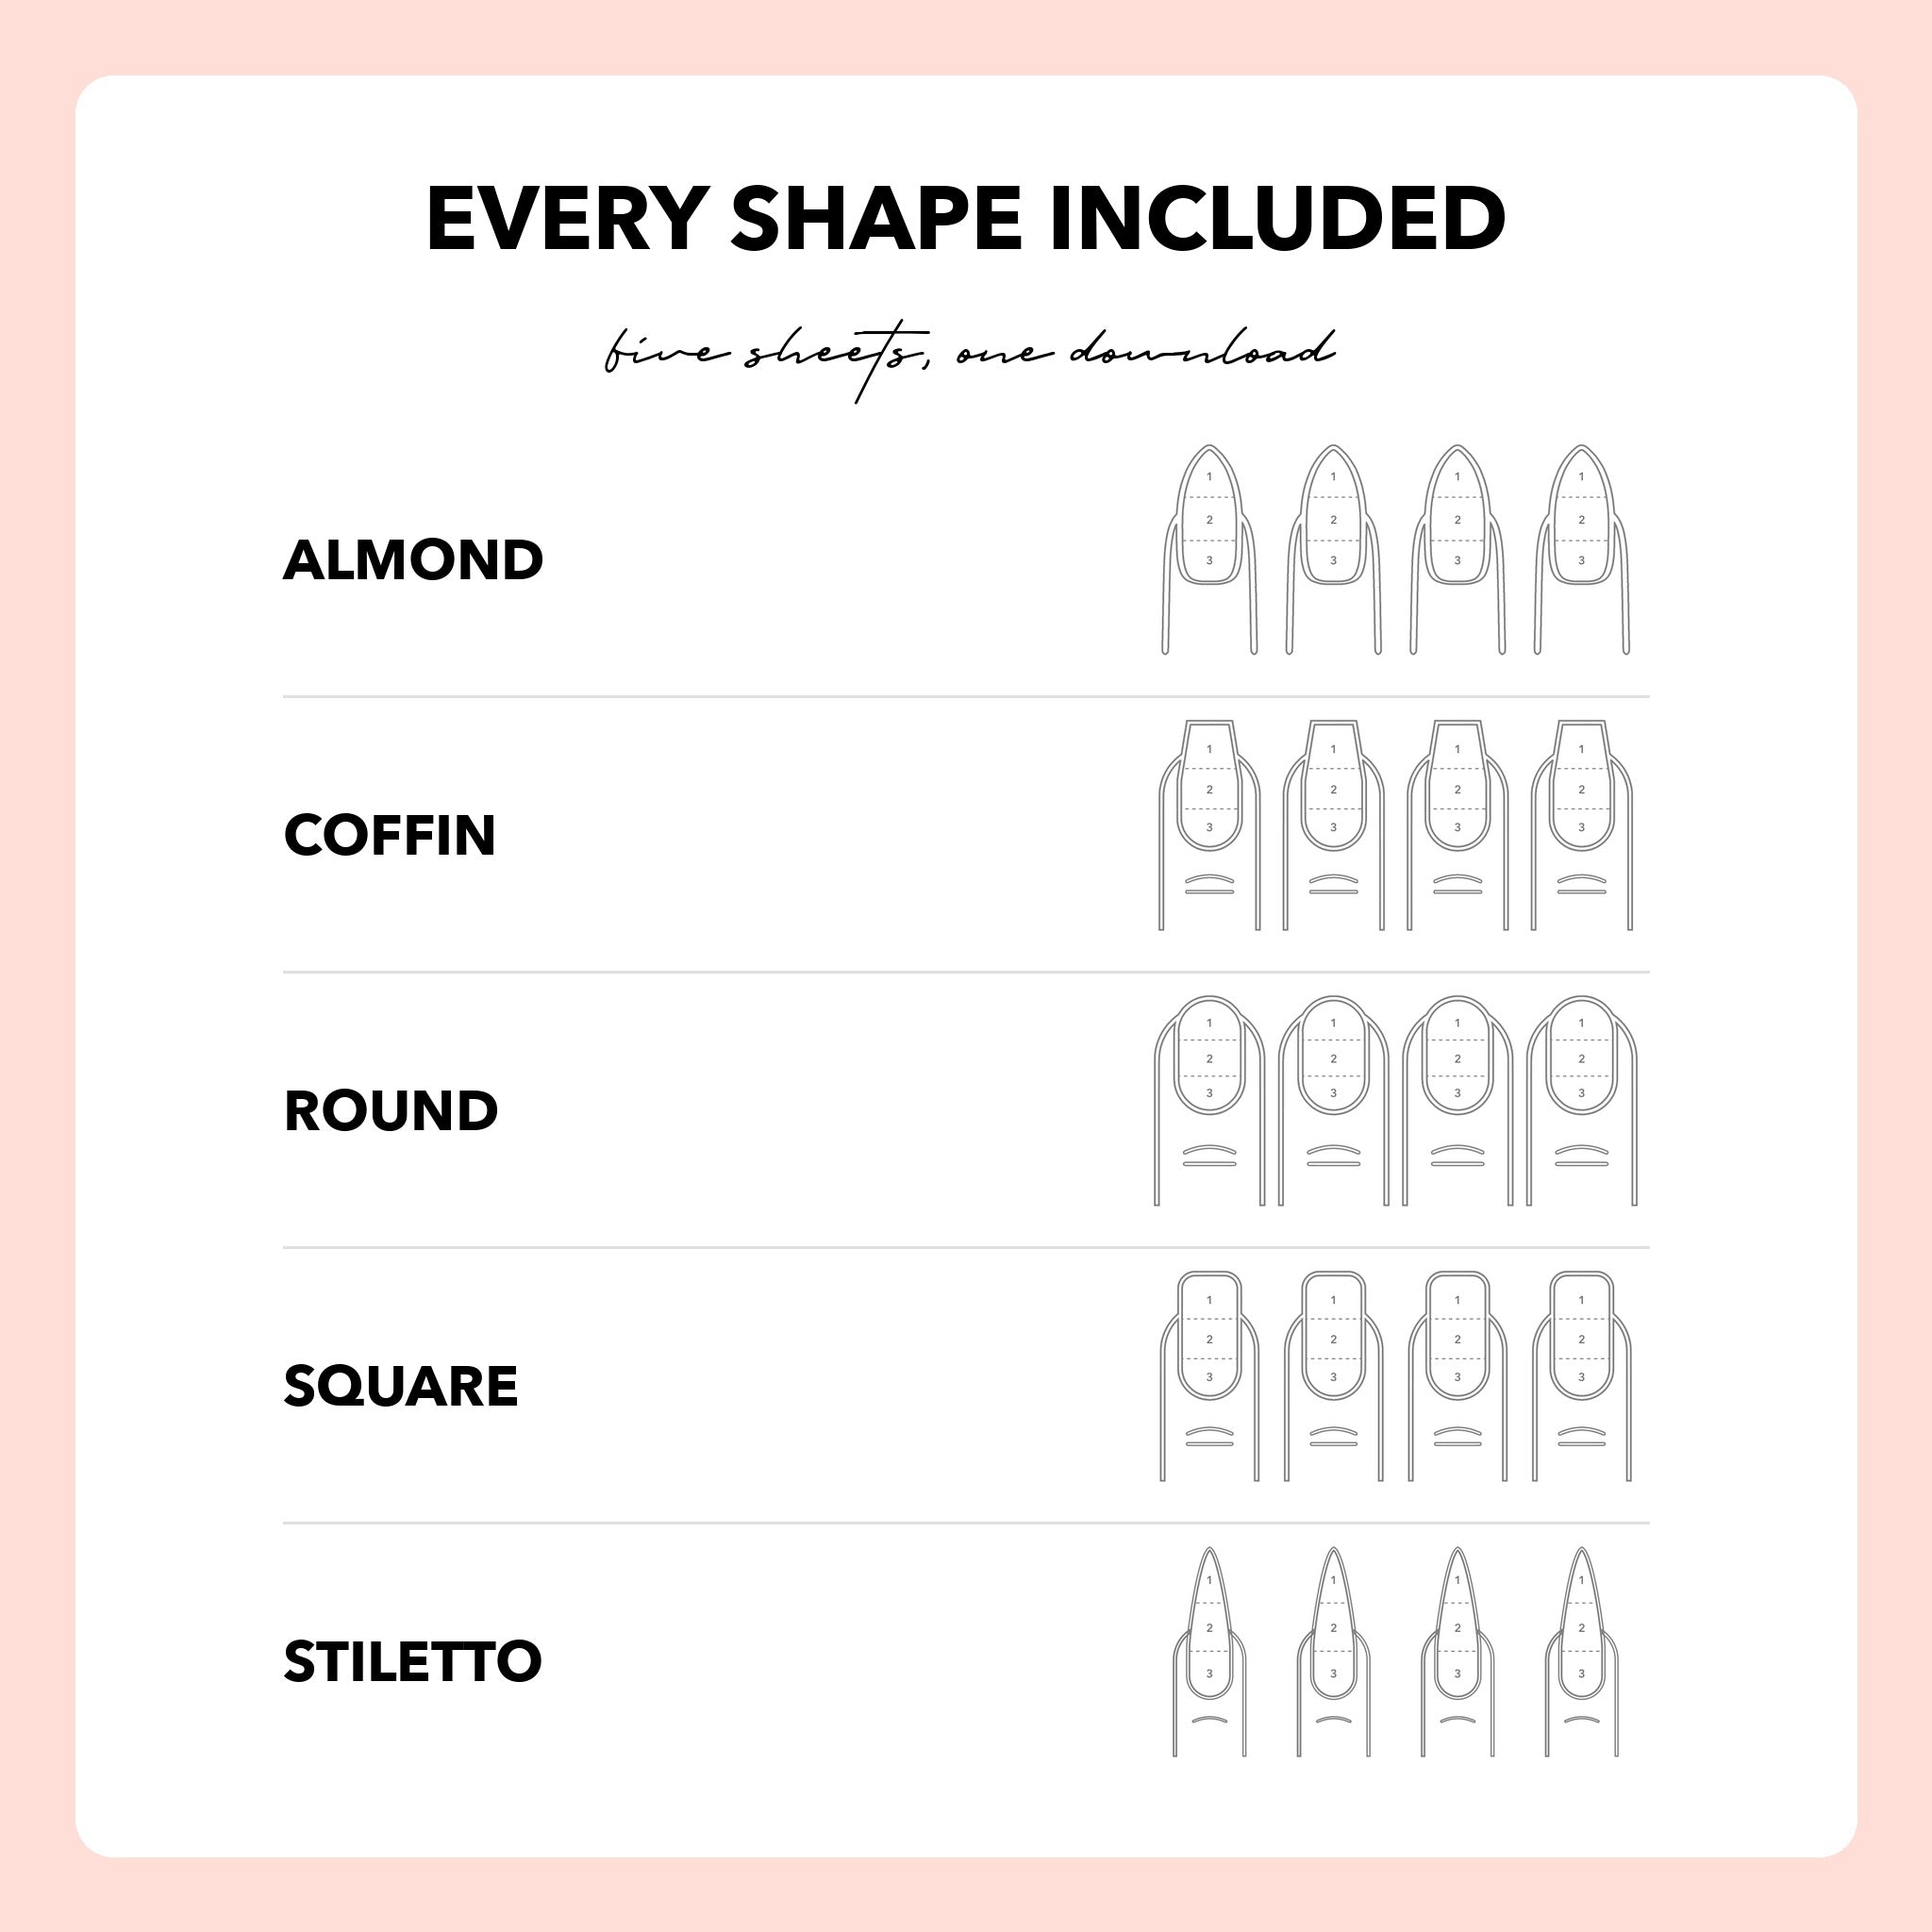
Almond, coffin, round, square and stiletto acrylic practice sheets included in the download
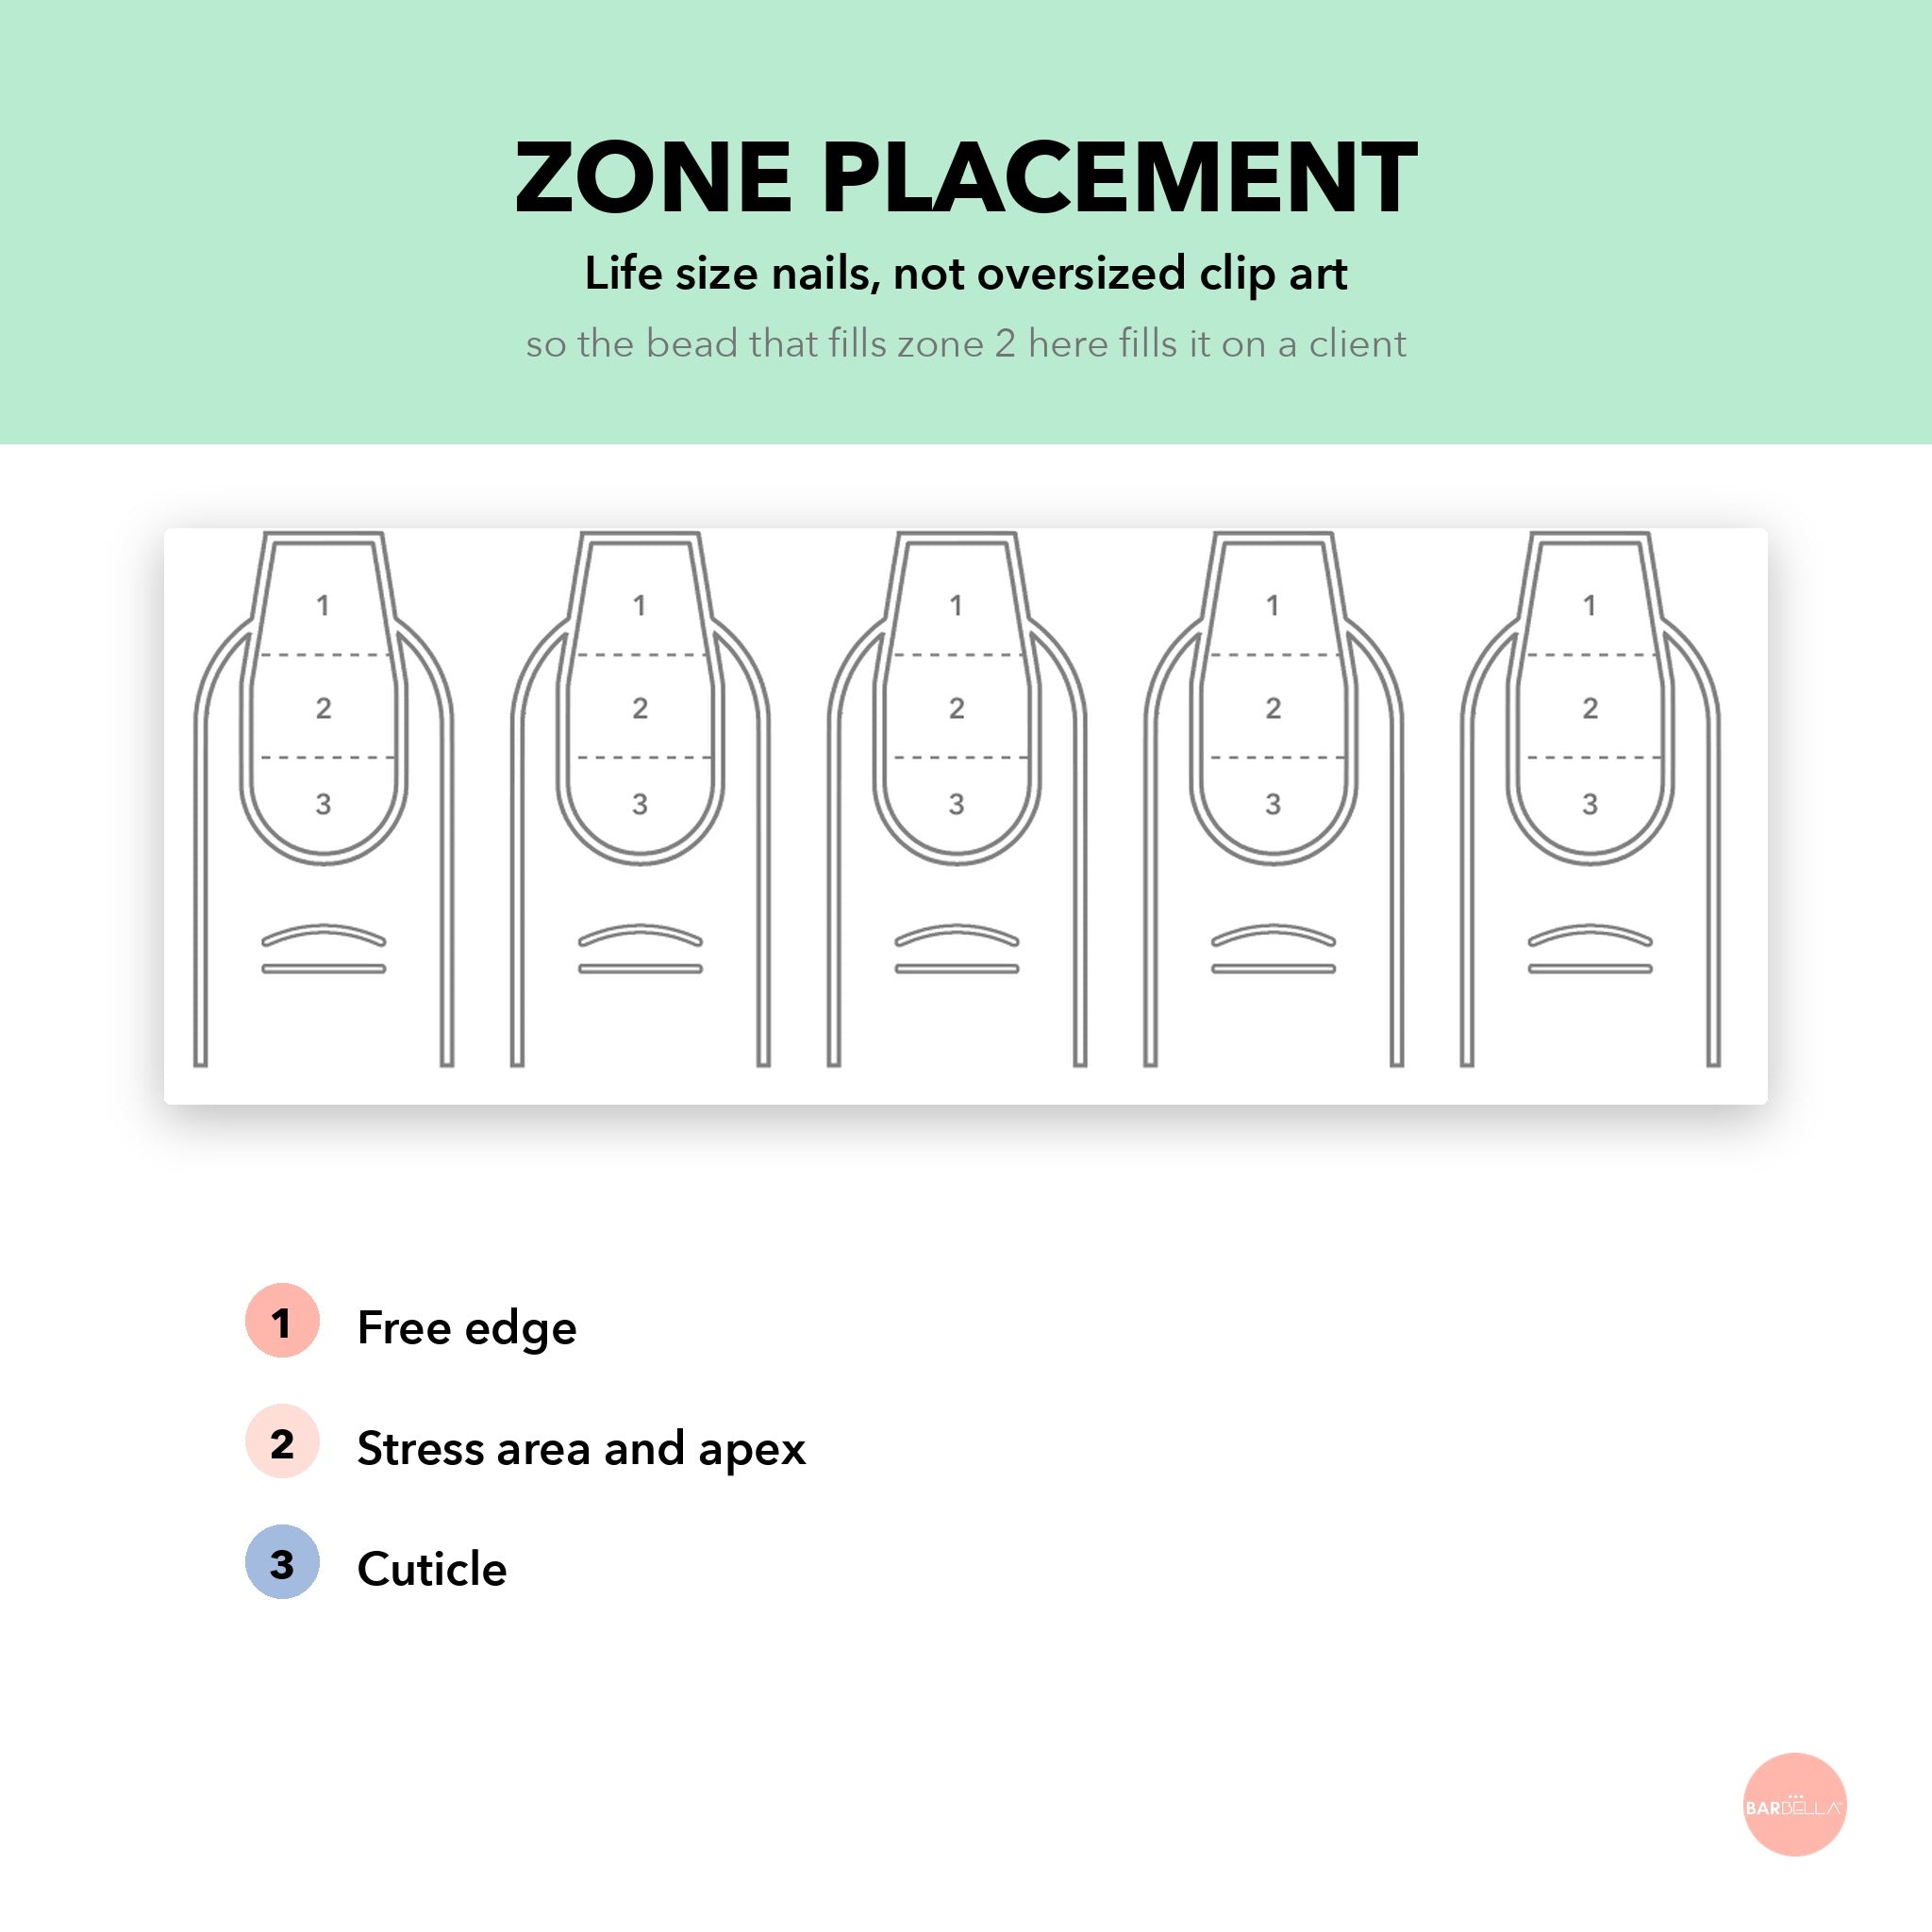
Life size nail outlines with zone 1 free edge, zone 2 apex and zone 3 cuticle for bead placement
Five printable acrylic practice sheets, 56 bead targets each, instant download in US Letter landscape
Printable acrylic ratio practice sheet for nail techs, five nail shapes, laminate and reuse
Acrylic bead size chart with 8mm, 6.5mm, 4.5mm and 2.8mm targets for a size 8 or 10 brush
Almond, coffin, round, square and stiletto acrylic practice sheets included in the download
Life size nail outlines with zone 1 free edge, zone 2 apex and zone 3 cuticle for bead placement
Five printable acrylic practice sheets, 56 bead targets each, instant download in US Letter landscape

Reusable Acrylic Nail Ratio Practice Sheet

$9.99

Your bead is either too wet, too dry, or just right. Better to find that out on paper than on a client.

The Reusable Acrylic Nail Ratio Practice Sheet is a printable drill sheet for nail techs working on liquid-to-powder ratio and bead control. Print it, laminate it, and reuse it as many times as you like.

What is on the sheet

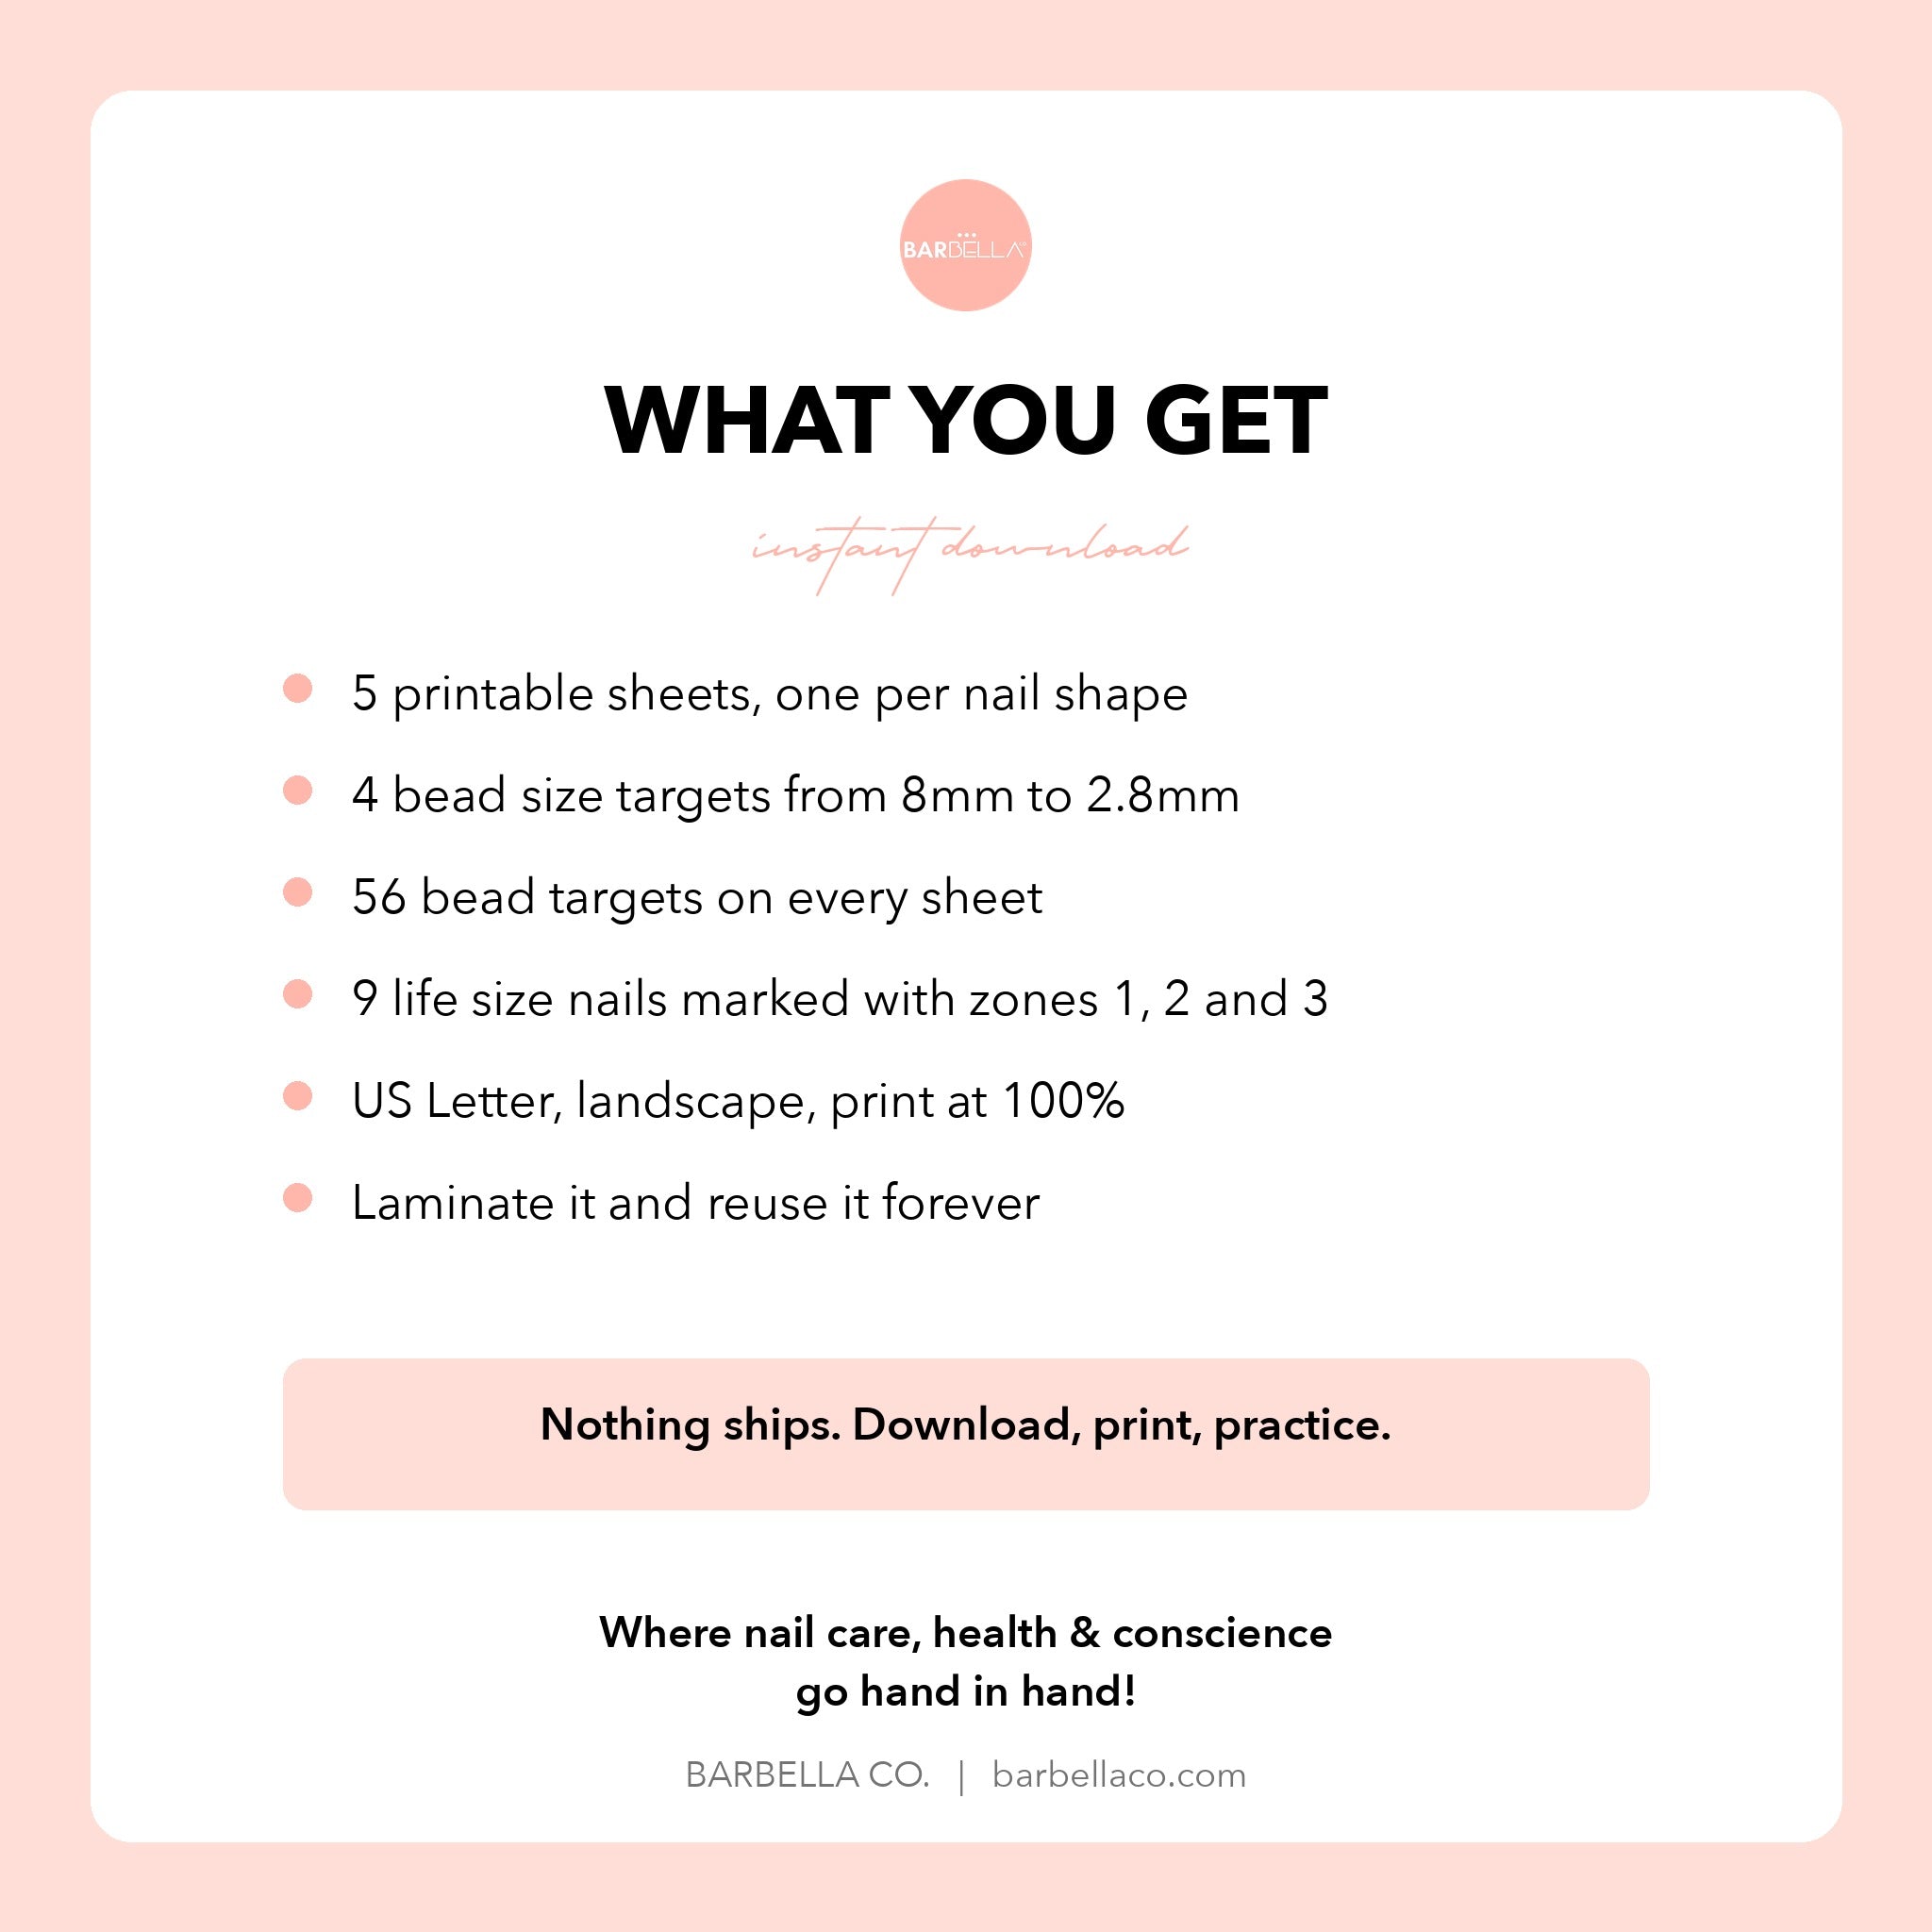
  • Four bead sizes at 8mm, 6.5mm, 4.5mm and 2.8mm, sized for a size 8 or size 10 brush
  • 56 bead targets per sheet, so you can drill the same size until it stops being luck
  • Nine life size nails marked with zones 1, 2 and 3 for placement and apex practice
  • The five-step method: dip, pick up, place, wipe, pat
  • Five nail shapes: Almond, Coffin, Round, Square and Stiletto

How to use it

  1. Print at 100% on US Letter, landscape
  2. Laminate it or slide it into a document sleeve
  3. Match each target with your bead, then pat it into place
  4. Wipe clean and go again

The key to laying acrylic is the foundation. Without a good foundation, your enhancements are prone to breakdown. Bead size depends on how much surface you are covering and how many beads you plan to place. For a larger bead, remove less monomer when you wipe and press your brush deeper into the powder. For a smaller bead, remove more monomer and drag the brush lightly across the surface.

Instant digital download. Nothing ships.

Working through the fundamentals? Nailing It, our beginner nail technician e-book, covers what a bead that is too wet, too dry, and just right actually looks like.

Pairs well with

Frequently Asked Questions

We formulate using plant based pigments and ingredients that are at least 10-Free. No camphor, No Toulene, No Formaldehyde, No DPB, & No HEMA

Yes, our polishes require a UV or LED light to cure. For LED we recommend curing for 30 - 60 seconds and for UV we recommend curing for 2-3 minutes.

We recommend storing in a dim and cool area away from direct sunlight for longevity.

We love that our polishes are pigmented and long-lasting. Our polish will last until they are soaked off. BarBella Co does not chip, peel, or fade and will last 2-3 weeks.

BarBella Co will soak off in 10 minutes. To properly remove gel polish, we recommend acetone, 180 grit nail file, cotton ball, ornage stick, and foil. Gently file the top coat layer off. Apply nail polish remover on cotton ball then place on nail. Then wrap foil over each nail and wait for 10-15 minutes for the polish to loosen & dissolve. Then gently push product off with orange stick.

Our gel polish bottles are 15ml -.5oz and take 2 coats for coverage. The 15ml bottle will provide 60-70 sets.

We recommend topping off with one of our top coats: Velvet Matte or Diamond Shine to increase prolonged wear.