
Nail Acrylic Application Basics | A Step-by-Step guide for Beginners
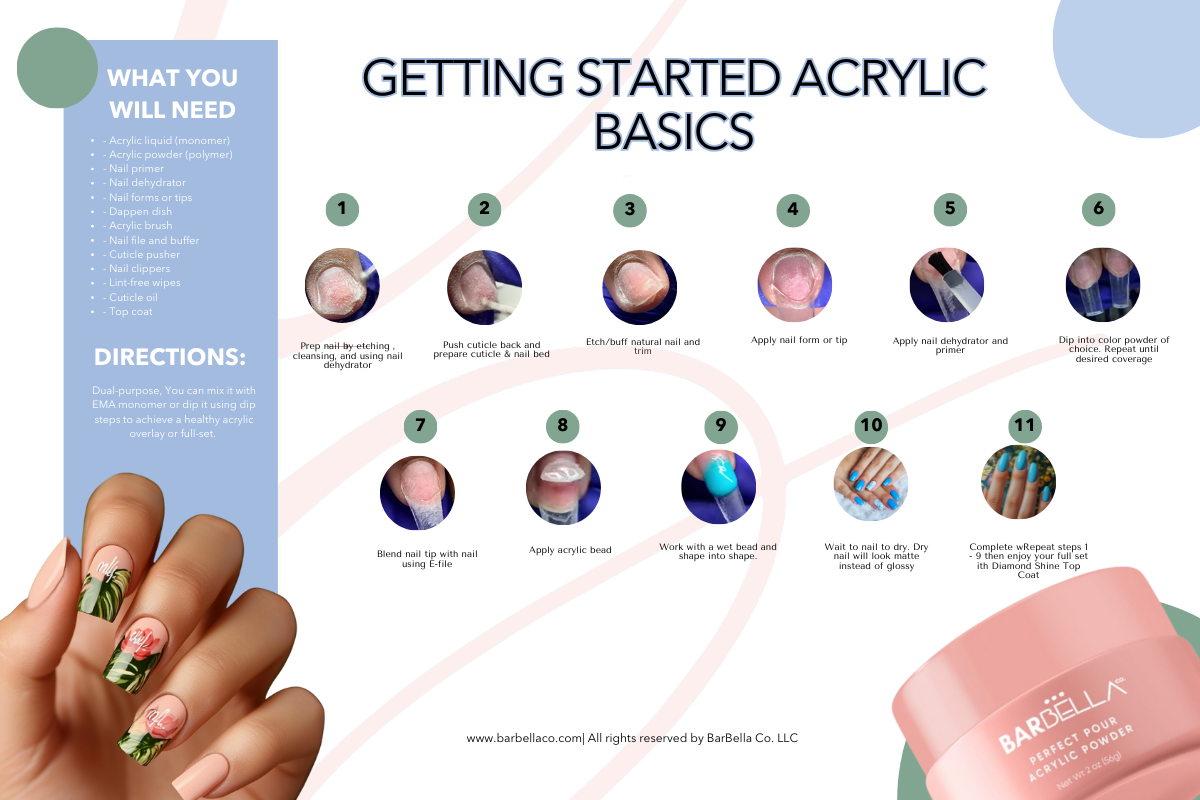
Nail acrylic application is a popular and essential skill for any nail technician or beauty enthusiast. Acrylic nails are known for their durability, versatility, and the endless possibilities for creative designs. Whether you're a professional nail artist or someone looking to perfect your at-home manicure skills, understanding the basics of acrylic application is crucial.
What are acrylic nails?
Acrylic nails are a combination of a liquid monomer and a powder polymer that form a hard, protective layer over your natural nails. This mixture creates a durable surface that can be shaped and designed according to your preferences. Acrylic nails can add length, strengthen weak nails, and serve as a canvas for intricate nail art.
Tools and materials you'll need
- Acrylic liquid (monomer)
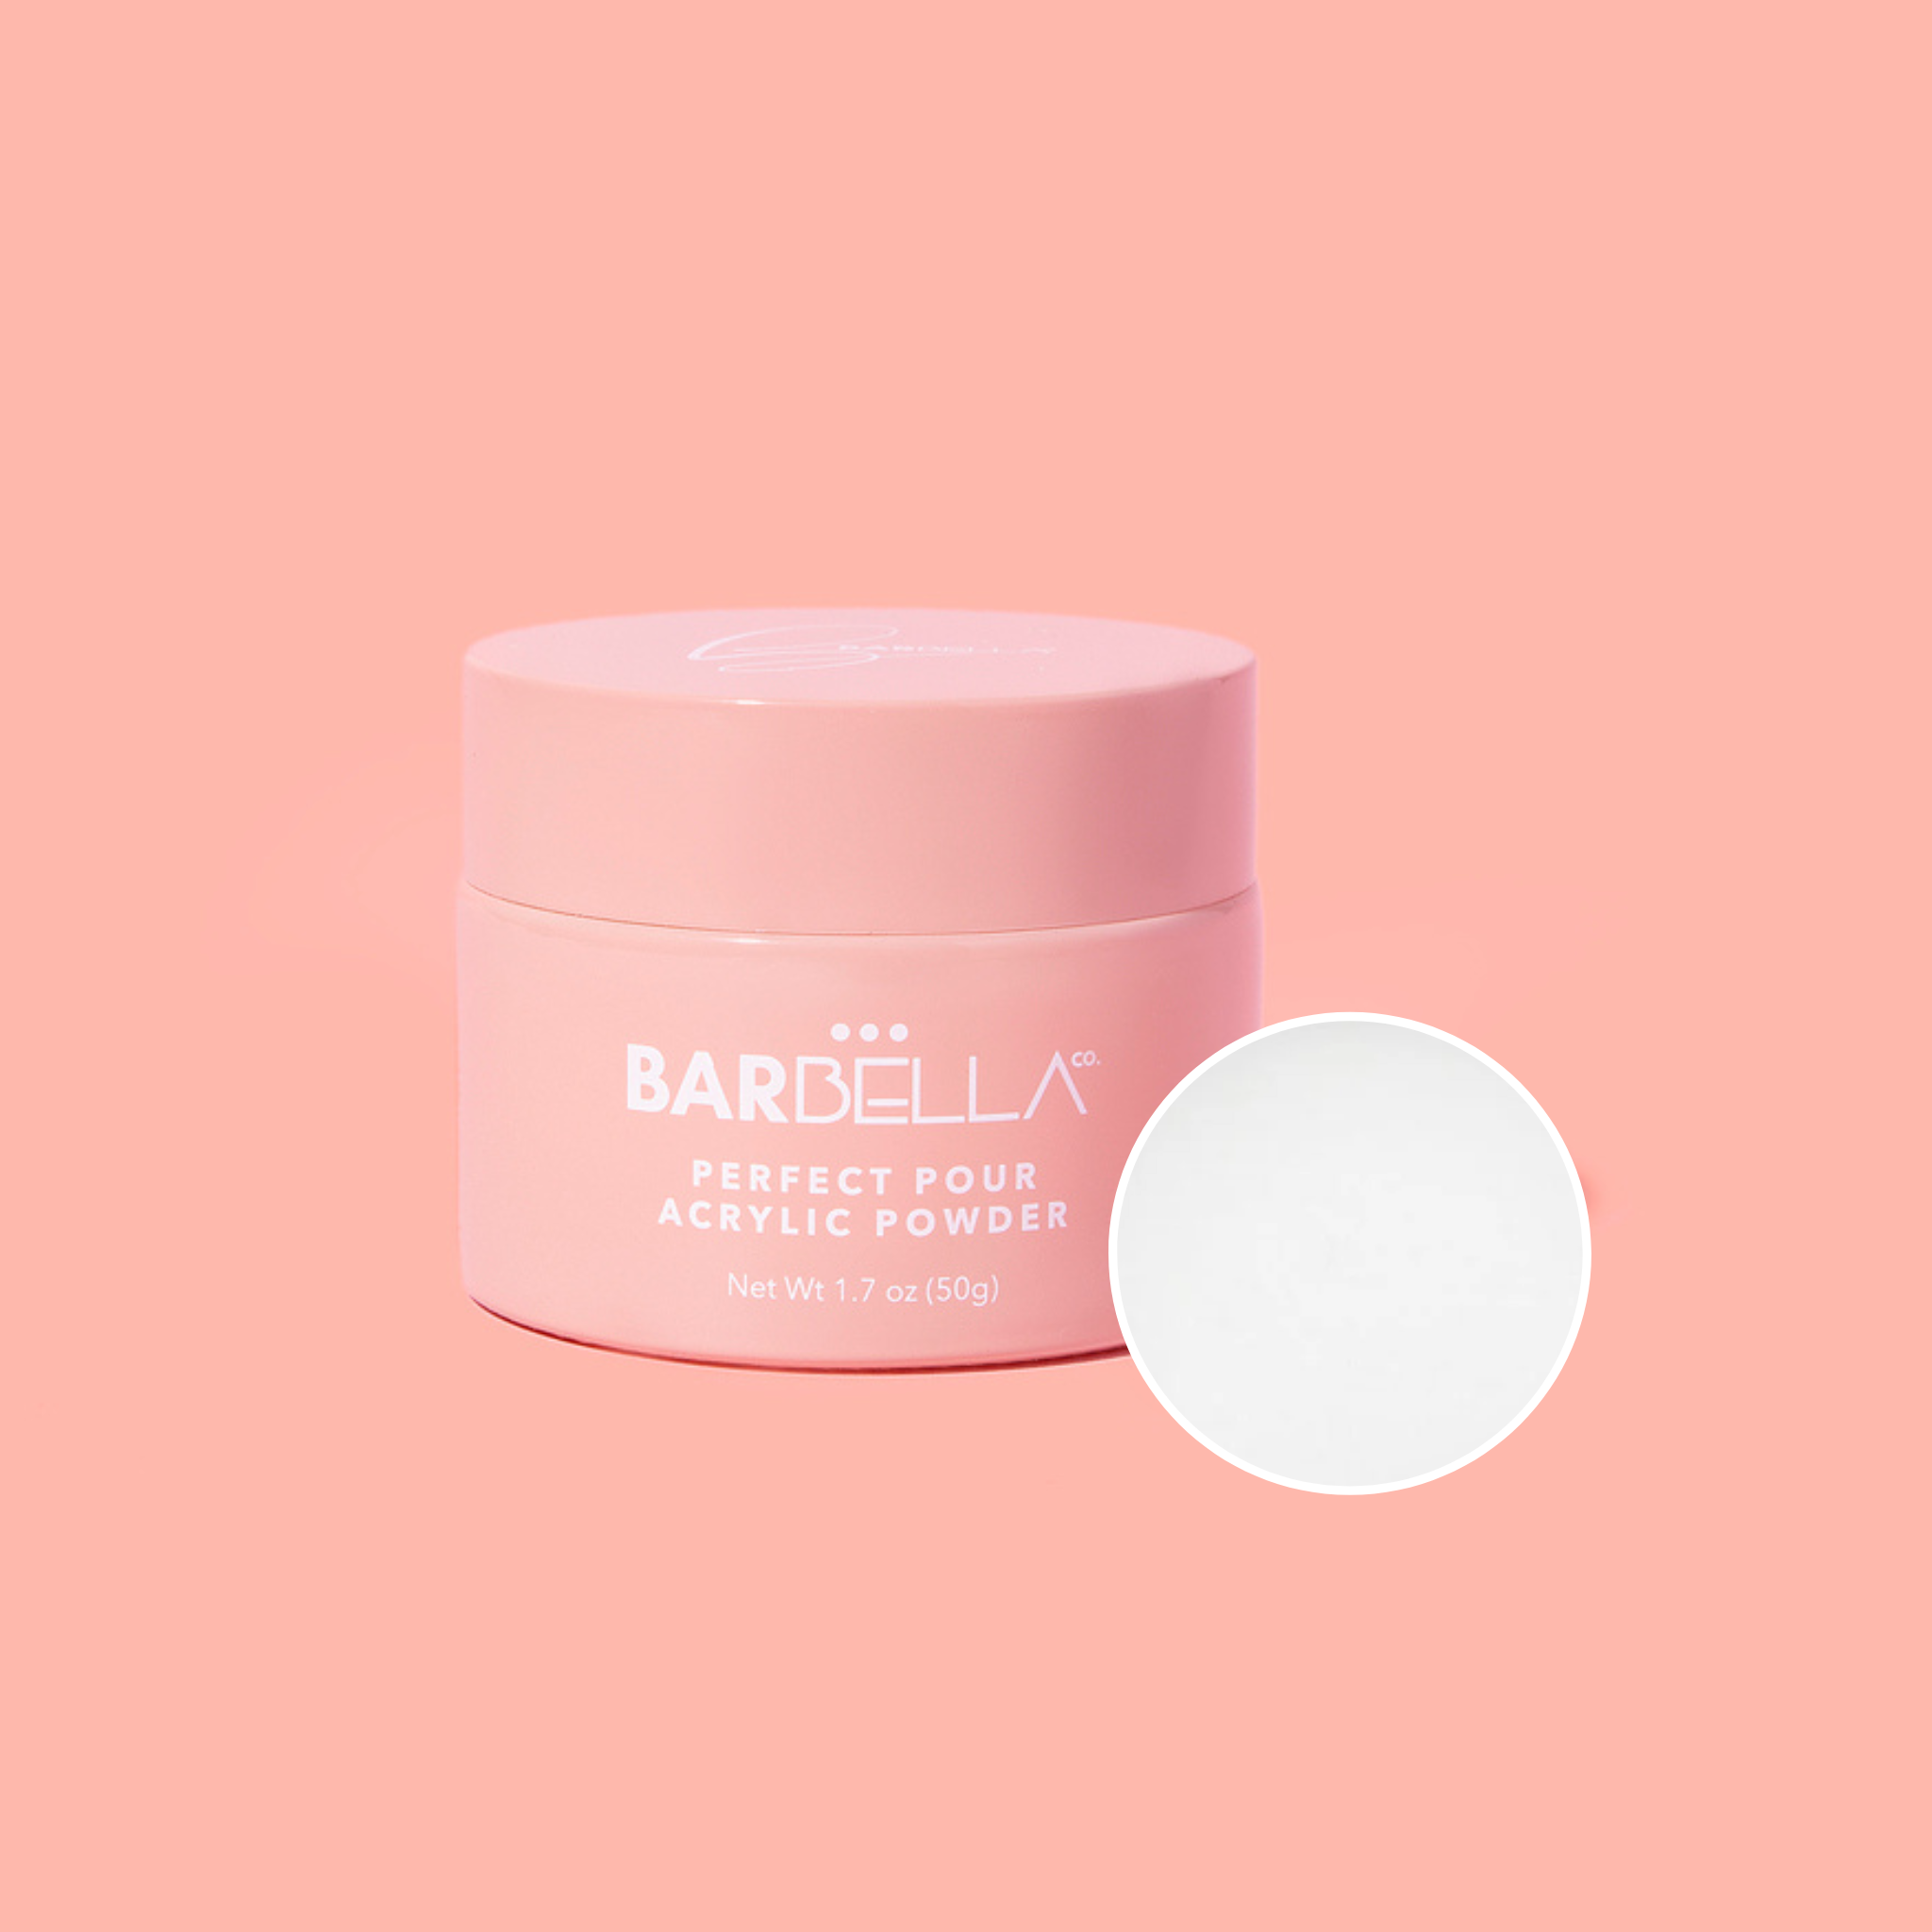
- Acrylic powder (polymer)
- Nail primer
- Nail dehydrator
- Nail forms or tips
- Dappen dish
- Acrylic brush
- Nail file and buffer
- Cuticle pusher
- Nail clippers
- Lint-free wipes
- Cuticle oil
- Top coat
1. Preparation is key
Start by removing any old polish or debris from your nails. Trim your nails to your desired length and shape them using a glass nail file. Gently push back your cuticles using a cuticle pusher, which helps create a clean surface for the acrylic to adhere to. Apply a nail dehydrator to remove any natural oils. This step is crucial for ensuring the acrylic adheres properly. Finally, gently etch the natural nail using a 180 grit file or e-file.
2. Apply nail forms or tips
If you want to add length, glue nail tips to the edge of your natural nails, then trim and shape them. Alternatively, use nail forms. Place the forms under the edge of your natural nails, ensuring they fit snugly.
3. Prime your nails
Apply a thin layer of nail primer to your natural nails. This helps the acrylic adhere better and prevents lifting.
4. Mix the perfect pour acrylic
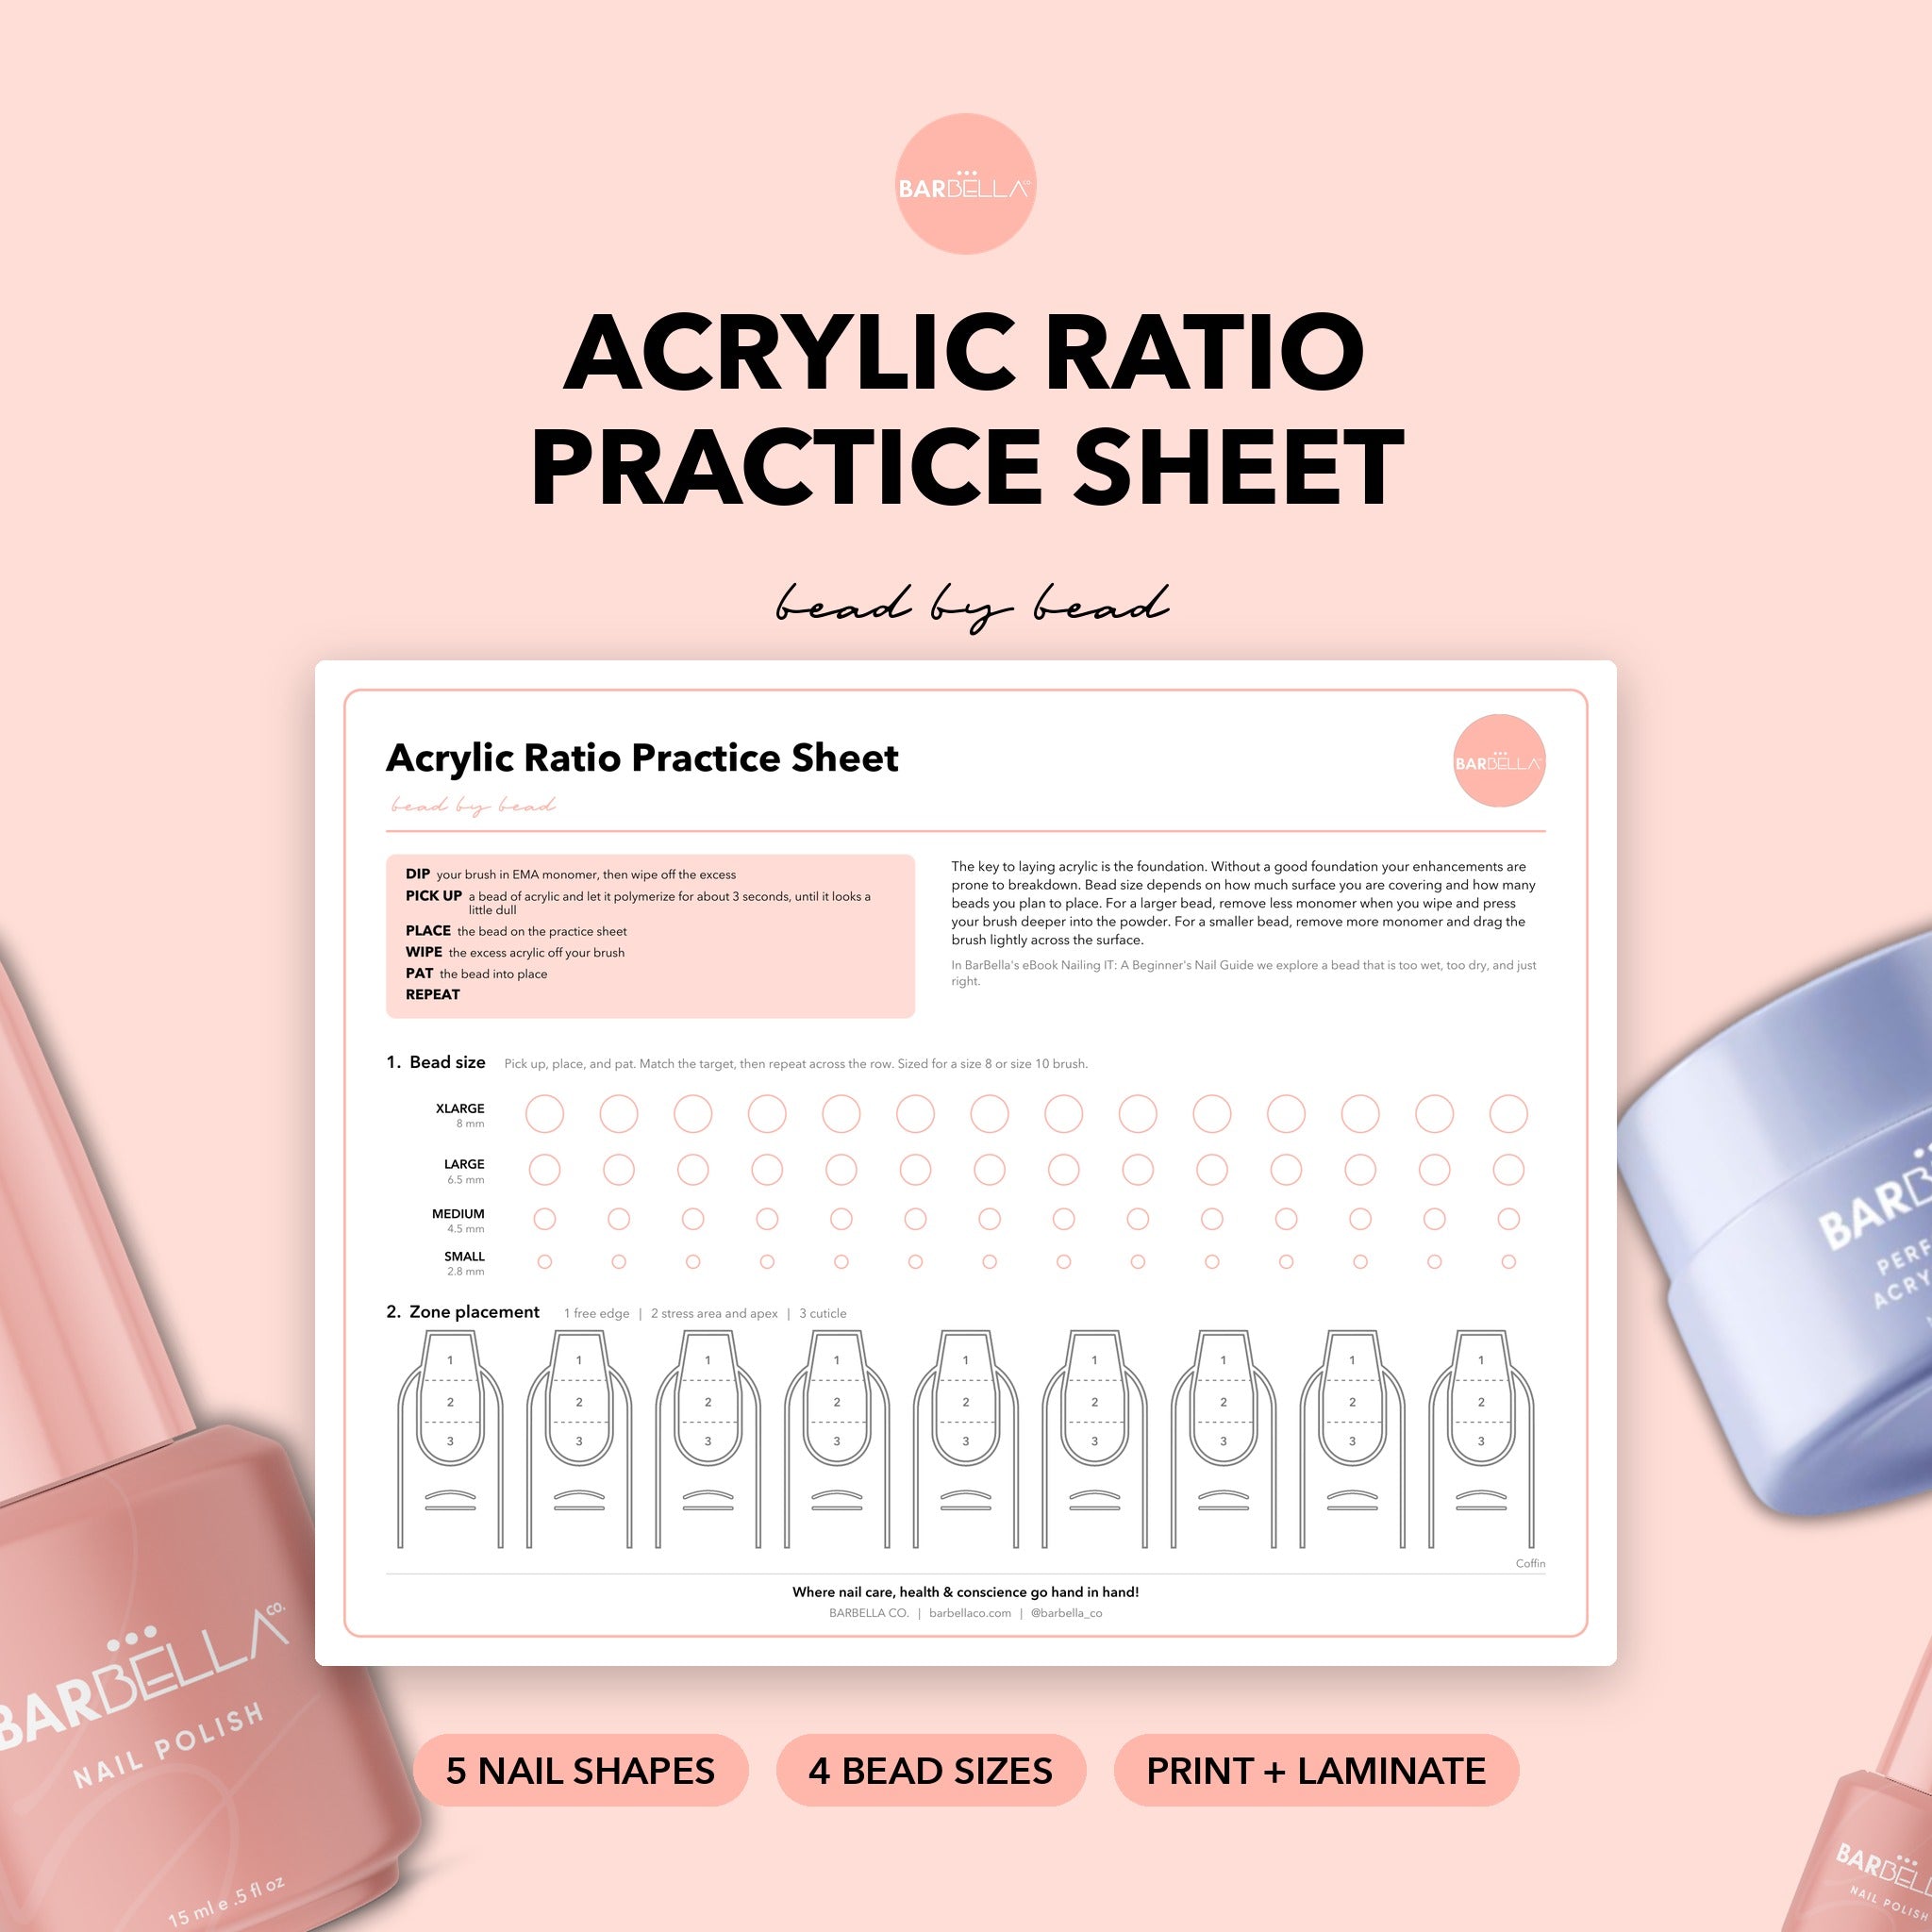
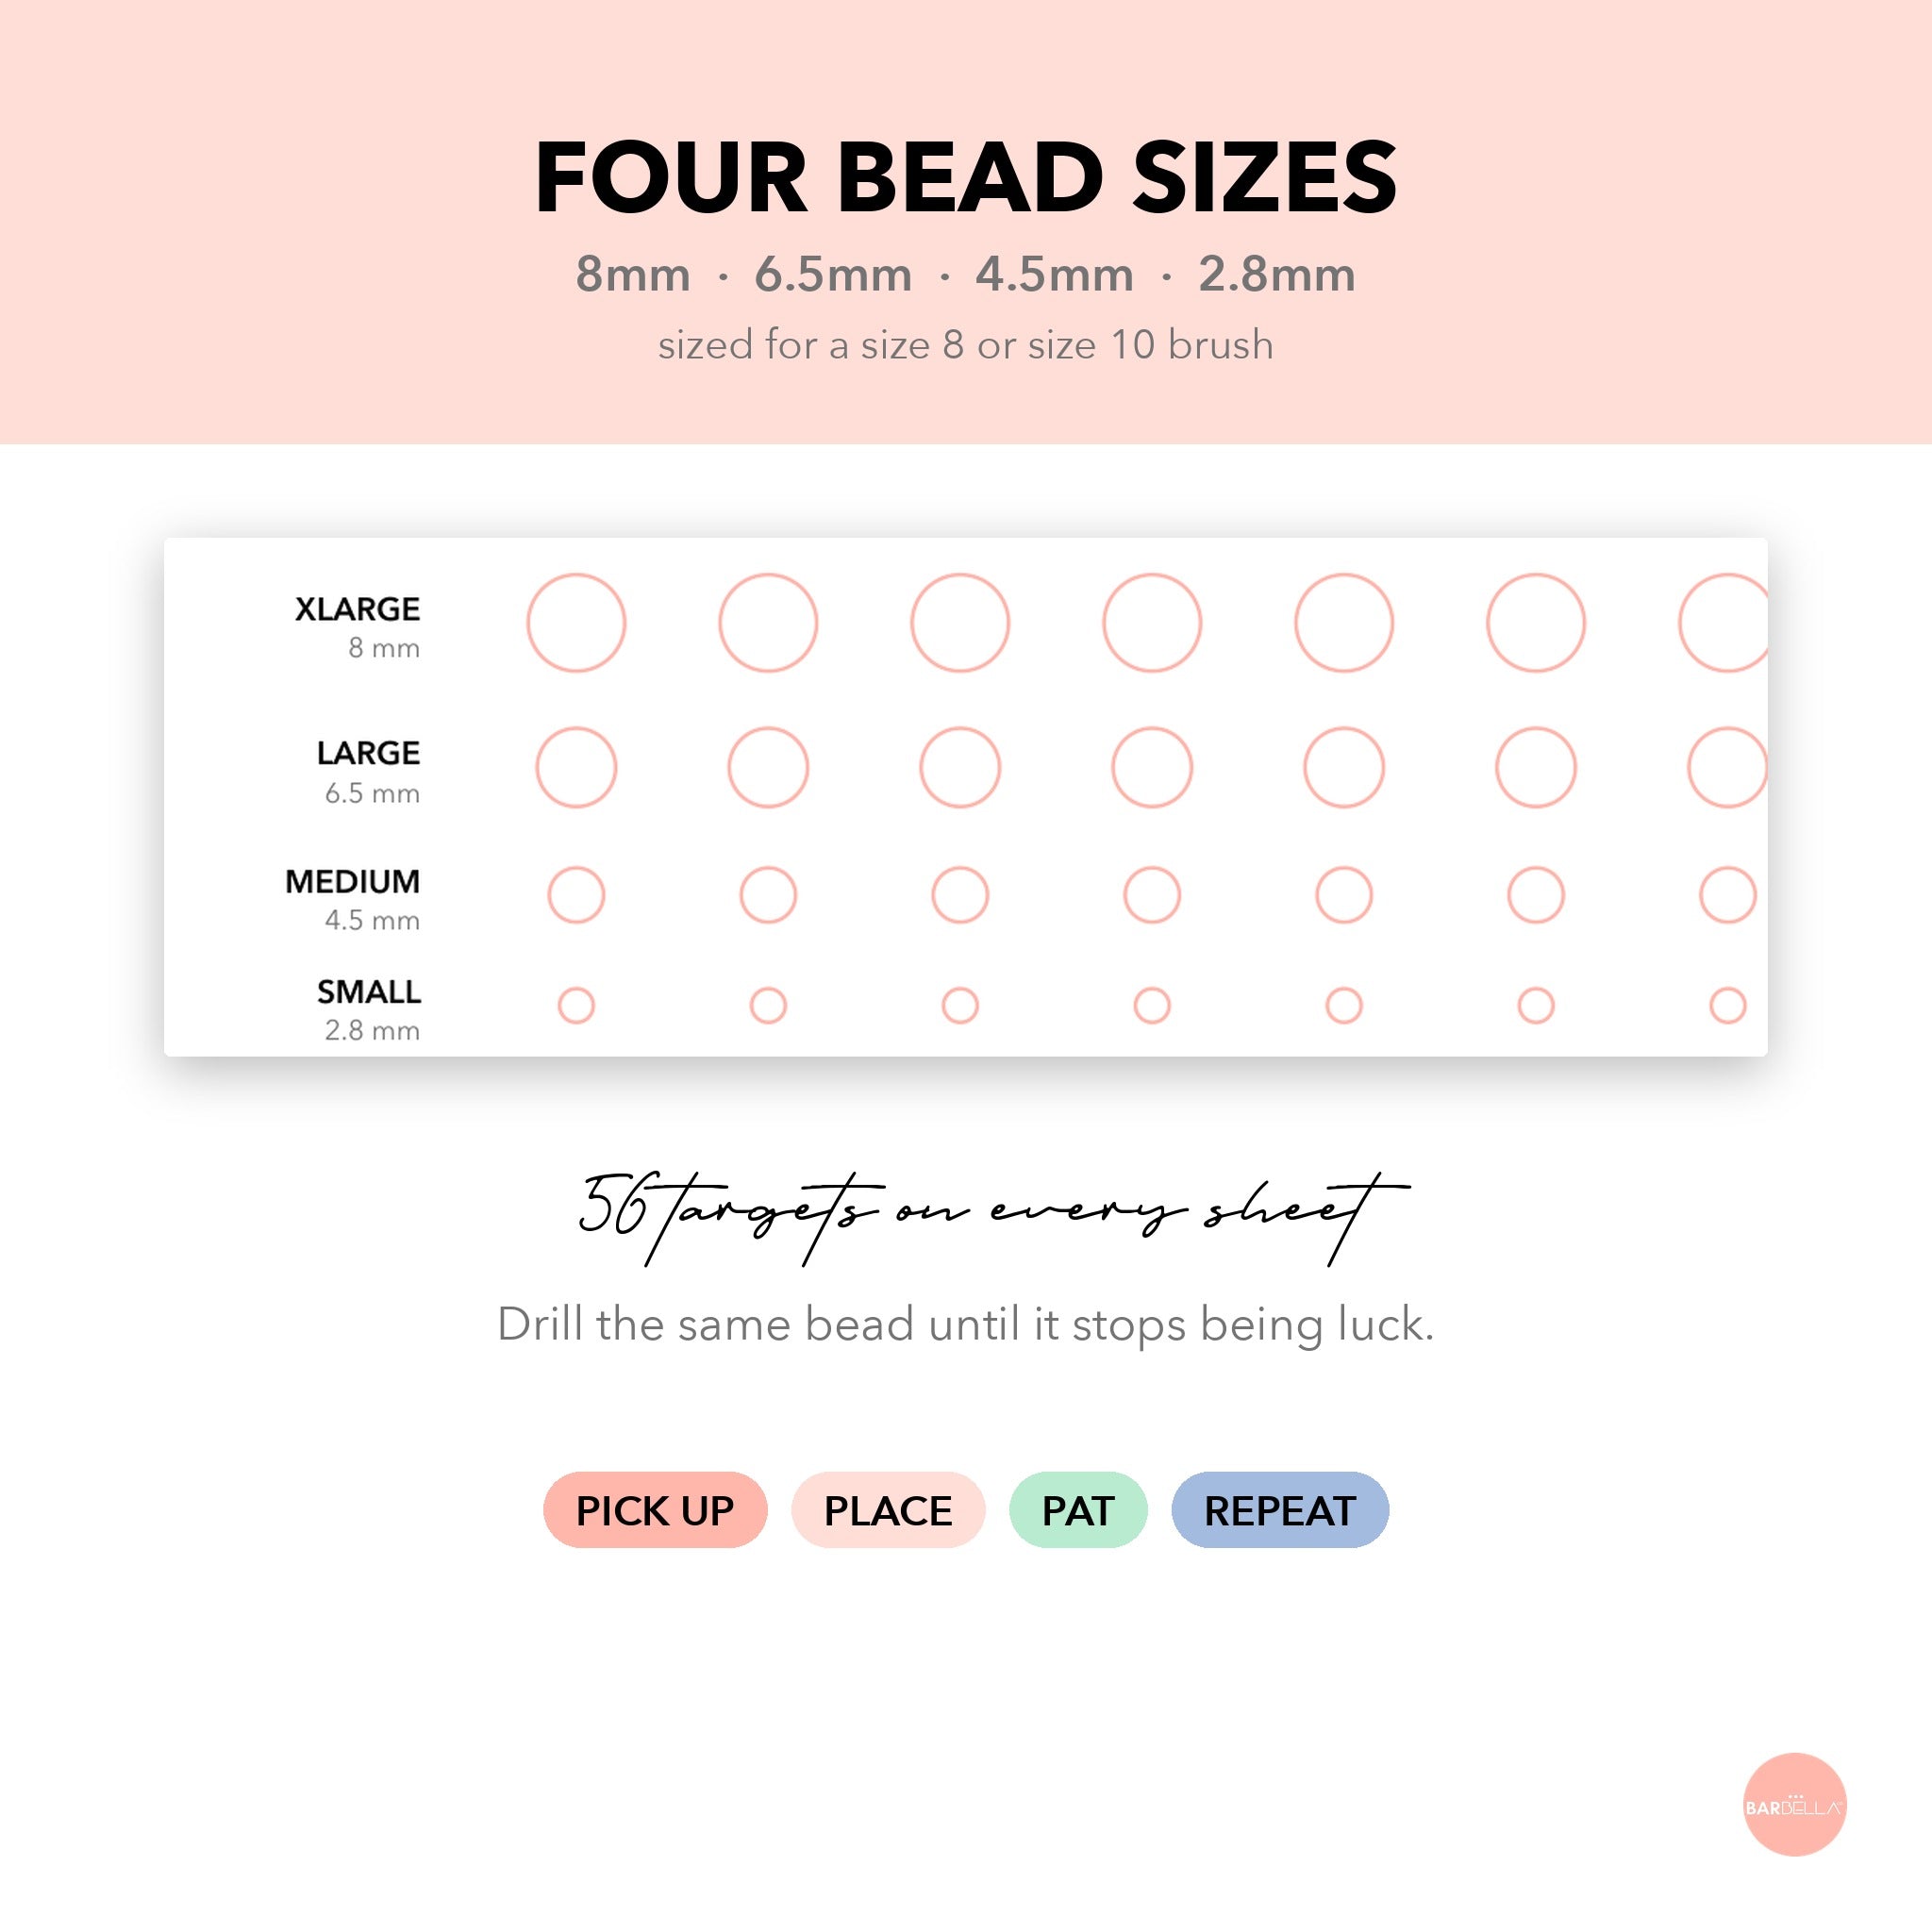
Pour the acrylic liquid into a dappen dish. Dip your acrylic brush into the liquid and wipe off the excess using the side of the dish, then dip the brush into the acrylic powder. The mixture should form a small, bead-like consistency on the brush. You can practice your acrylic powder ratio using BarBella Co's Acrylic Practice Sheets.

5. Apply the acrylic
Start by placing the acrylic bead near the cuticle area, but not touching the skin. Gently press and spread the acrylic over your nail, working toward the tip. Use smooth, even strokes to create a uniform surface, patting to lay the acrylic flat. Build the apex, the highest point of the nail, which provides strength and structure. Ensure you build a slight curve at the center of the nail. Browse our Perfect Pour Acrylic Powders.
6. Shape and file
Once the acrylic has dried, usually a few minutes, use a nail file to shape and refine the edges of your nails. Smooth out any bumps or uneven areas with an e-file.
7. Finishing touches
Buff the nails to remove any remaining imperfections and achieve a smooth surface. Apply the Gel Diamond Shine Top Coat to seal and protect your acrylic nails. Finish by applying cuticle oil to nourish your cuticles.
Tips for a perfect acrylic application
- Work in a well-ventilated area. Monomer emits a strong odor, so it's important to work in a space with good ventilation.
- Practice patience. Acrylic application takes practice. Don't rush the process.
- Avoid skin contact. Ensure the monomer does not excessively touch your skin, as this can cause lifting.
Mastering the basics of acrylic nail application opens up a world of possibilities. With the right tools, techniques, and a bit of practice, you'll be able to achieve professional-looking acrylic nails at home. The key is preparation, precision, and patience.
Just getting started? Nailing It, A Beginner's Guide to Nails covers prep, application, and aftercare. Instant download.


Comments