
Basic Nail Art Strokes and Beginner Designs: A Step-by-Step Guide
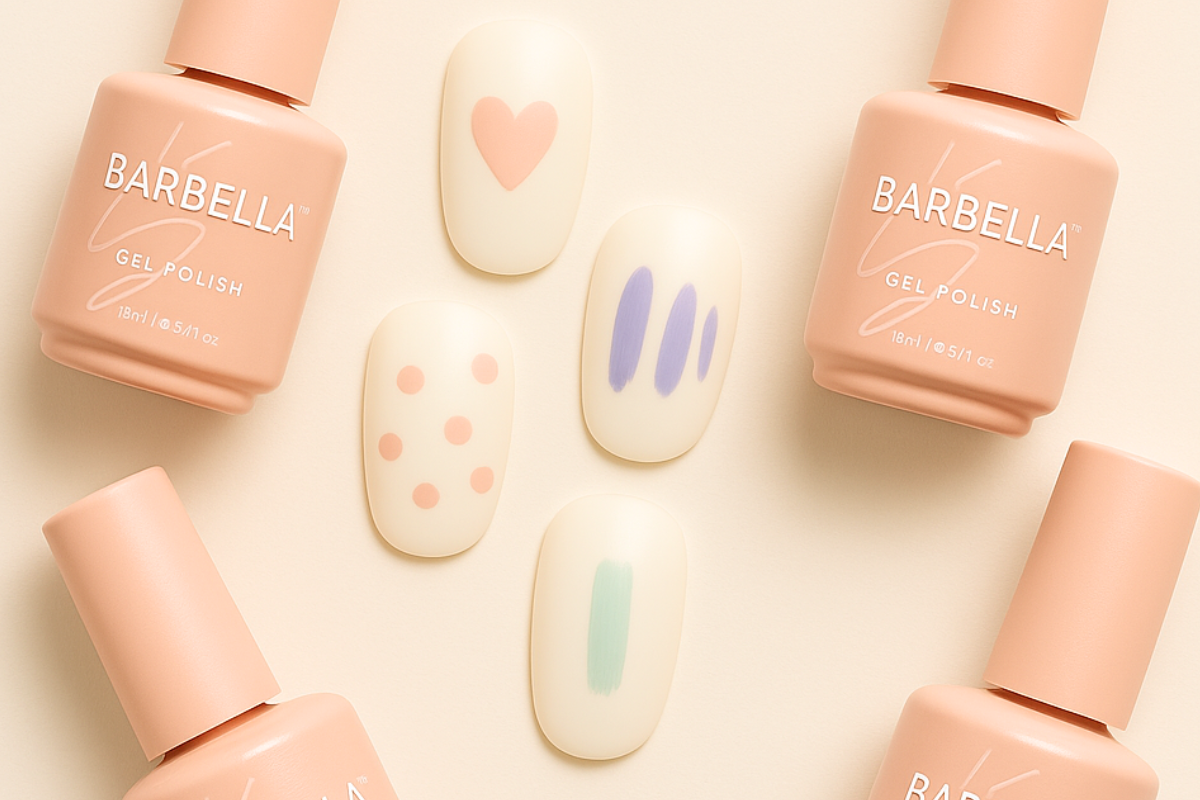
Nail art has become a popular form of self-expression, allowing individuals to showcase their creativity through intricate and eye-catching designs. For beginners, mastering basic nail art strokes is the first step toward creating beautiful and professional-looking nail designs. We will cover essential nail art strokes and beginner-friendly designs that you can easily achieve at home.
Essential tools for nail art
- Base coat and top coat
- Vegan gel polishes in various colors
- Detail brushes
- Dotting tools
- Nail art striping tape
- Nail polish remover
- Lint-free wipes
Basic nail art strokes
Dotting
Use a dotting tool or the tip of a bobby pin. Dip the tool into the nail polish and gently press it onto your nail to create dots. Experiment with different sizes by using varying amounts of polish or different dotting tools. Use dots to create simple patterns like polka dots or flowers.
Stripes
Use a striping brush or thin detail brush. Dip the brush into the nail polish, then drag it across the nail to create straight or curved lines. Practice creating both thin and thick stripes. Stripes can be vertical, horizontal, diagonal, or even zigzagged for a dynamic look.
Stippling
Use a small detail brush. Lightly dab the brush onto your nail to create a speckled or dotted effect. This technique works well for adding texture or creating a gradient effect.
Swirls
Use a fine detail brush or toothpick to draw swirling lines or patterns on your nails. Swirls can add a whimsical touch. Combine swirls with dots or stripes for a more complex design.
Beginner nail art designs
Polka dot nails
Apply a base coat and let it dry, then apply your chosen base color. Use a dotting tool to create dots of a contrasting color across your nails, randomly or in a pattern. Seal with a top coat.
Striped accent nail
Apply a base coat and let it dry, then apply your chosen base color. Use striping tape to create straight lines on one or more accent nails. Paint over the tape with a contrasting color. Carefully remove the tape while the polish is still wet and seal with a top coat.
Geometric patterns
Apply a base coat and let it dry, then apply your chosen base color. Use striping tape to create geometric patterns like triangles or chevrons. Paint over the tape with contrasting colors. Remove the tape while the polish is still wet and seal with a top coat.
Tips for perfect nail art
- Practice patience. Nail art requires steady hands. Take your time with each stroke.
- Use thin layers. Apply nail polish in thin layers to prevent smudging and ensure quick drying.
- Clean brushes regularly. Wipe them with a lint-free wipe soaked in nail polish remover.
- Experiment. Don't be afraid to play with colors and patterns. Nail art is about creativity and personal expression.
Practicing your strokes? Our Nail Art Planner Kit Bundle and Acrylic Practice Sheets are printable and ready to use today.
Comments